Affinity Designer 2.0 is Here!
Pin it for later!

Affinity Version 2 has arrived! Including the NEW Publisher for iPad app! Already downloading, and what about you? I do recommend switching to the new Affinity Designer 2.0 because the design is more sleek and I believe that in the long run it can be less glitchy and handle bigger files better.
Some of the amazing new features in version 2 include: the Shape Builder Tool, the Knife Tool, the improved auto-close using the Pencil Tool, a powerful Vector Warp functionality. Keep on reading or watch the video below.
* I'll be also uploading an extra BONUS lesson to my Beginner's Affinity Designer Skillshare class, with a few tips to find your way around the new interface.
Let’s have a look at some of the changes in the new Affinity Designer 2.0 app (iPad).
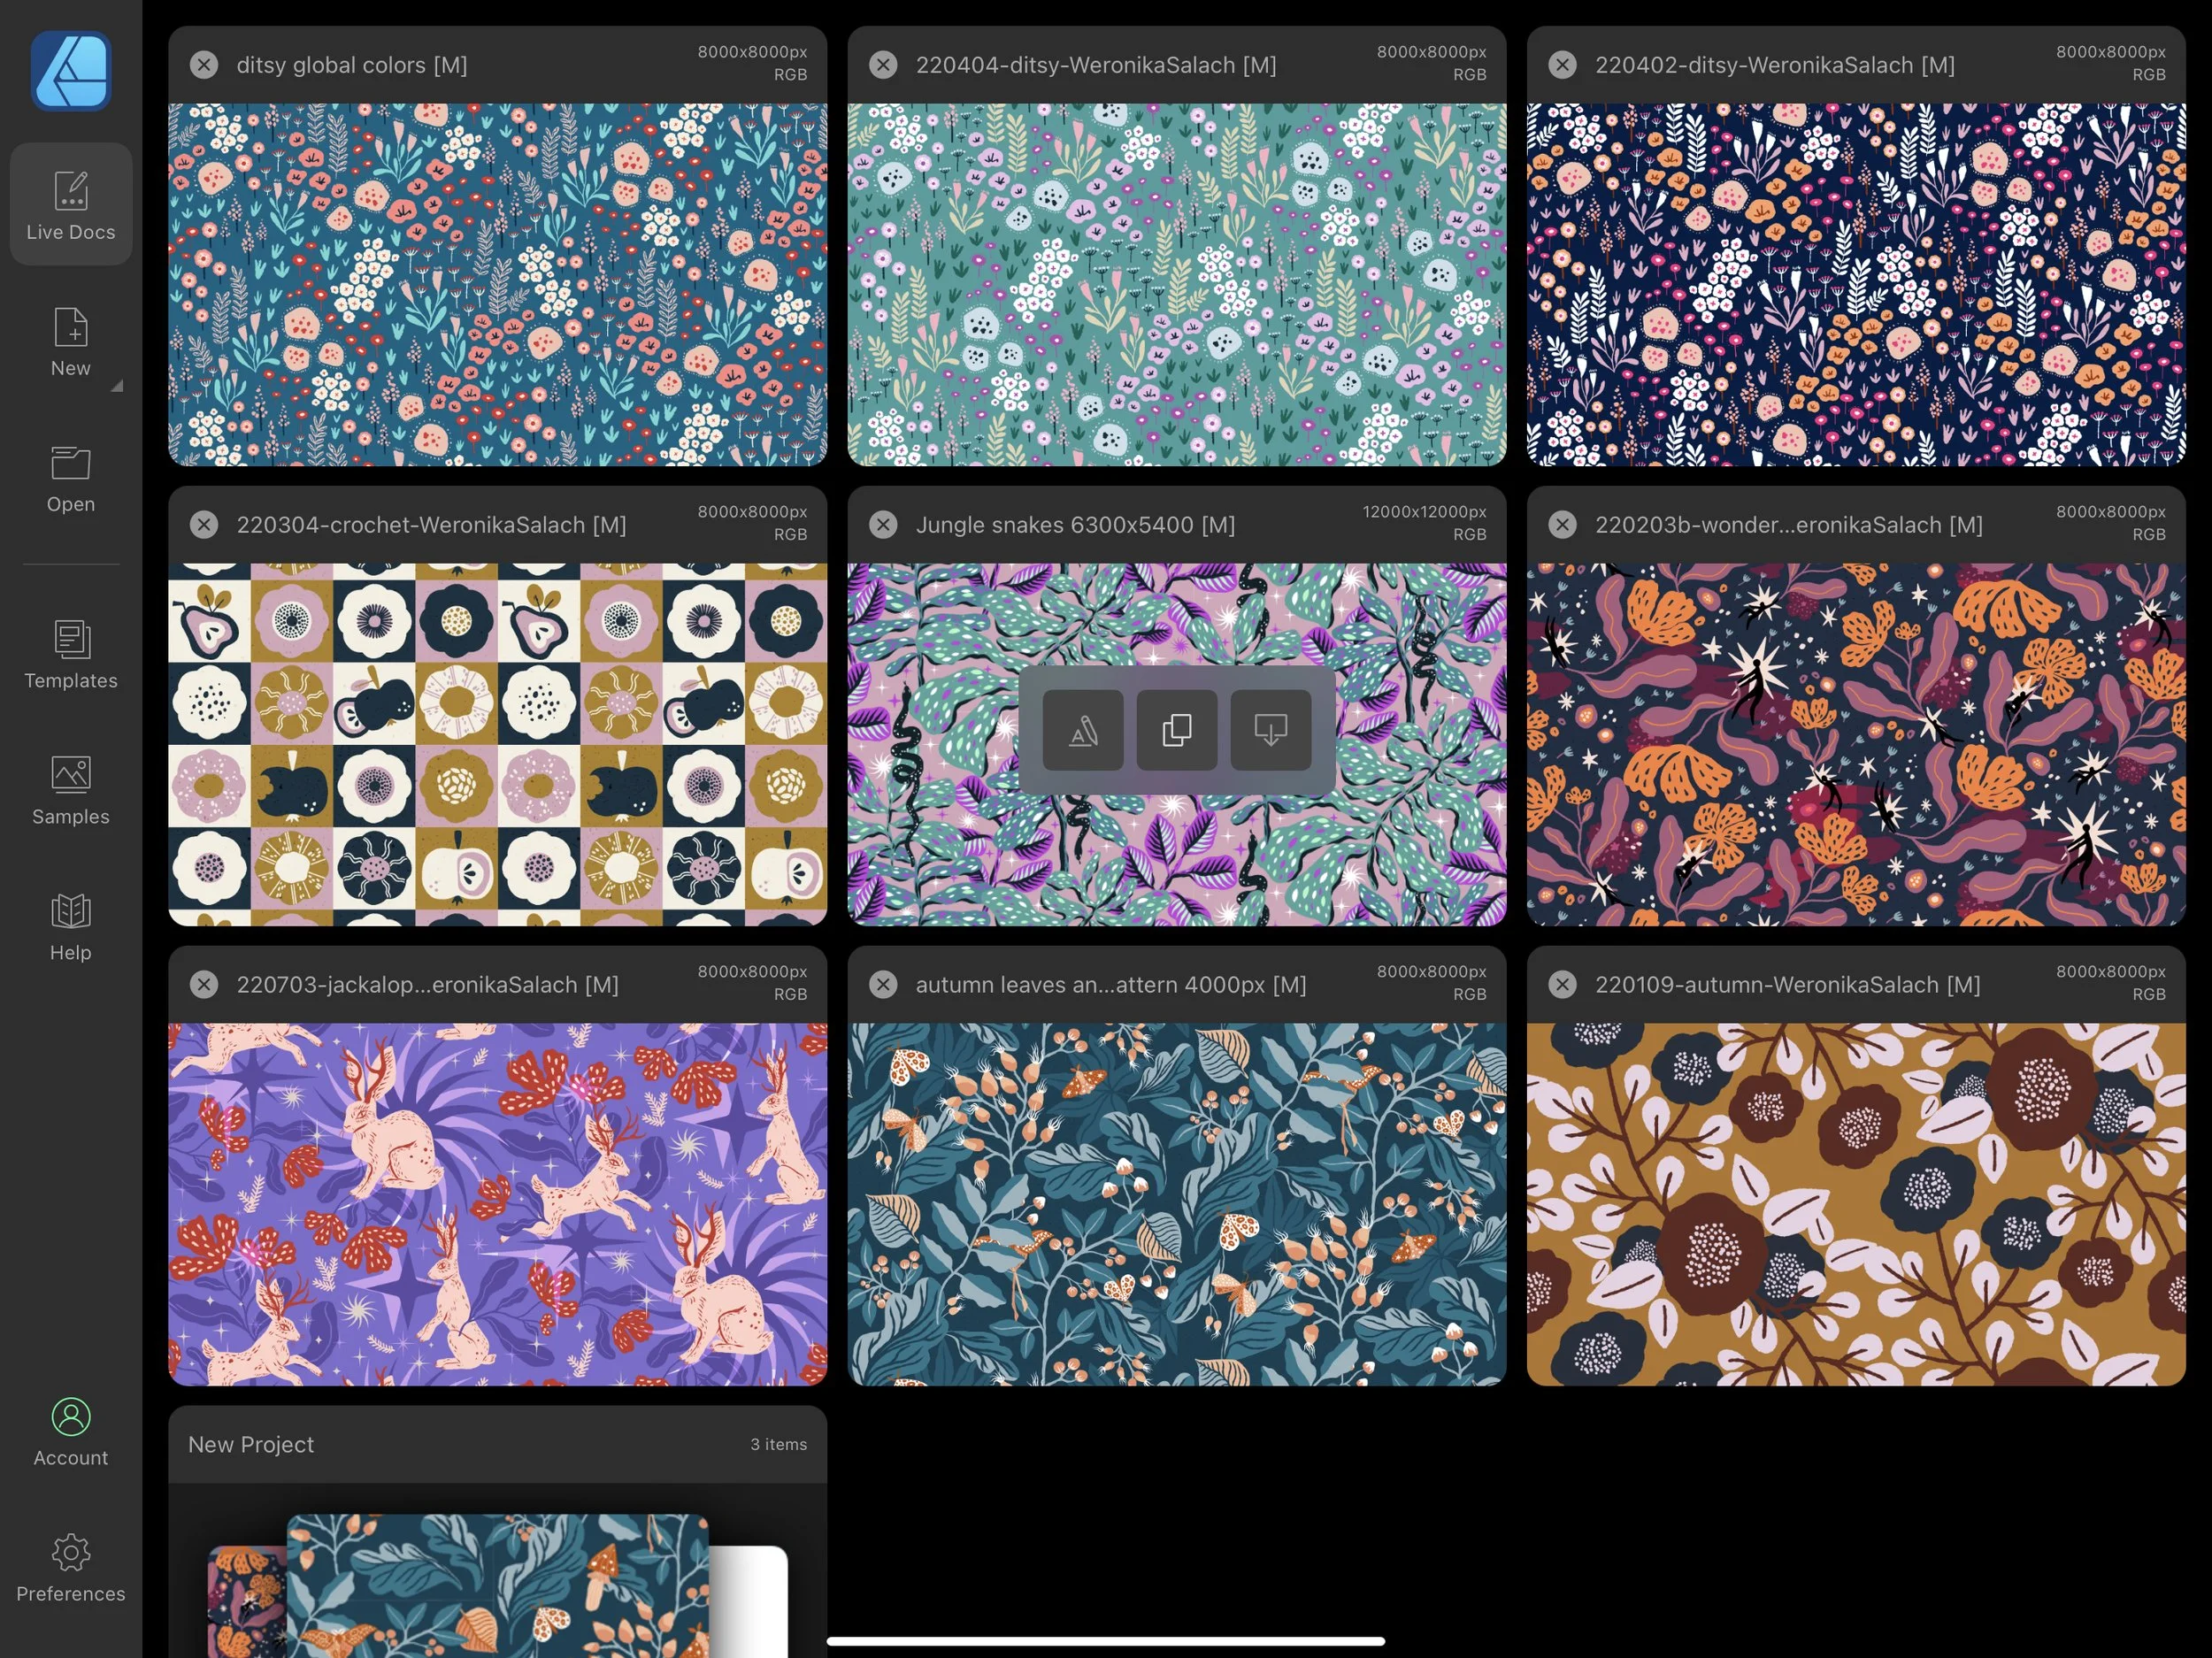
1) The revamped Live Docs View
When you open the app, you will notice that away that your “homepage” section is different. You see bigger thumbnails now, and this main section of the app is called a Live Docs View. The main menu was shifted to the left side, which I find very sleek and practical. When creating a new document, you can now add your own category for presets, and you get a few useful quick buttons to instantly rename, reorder or delete them.
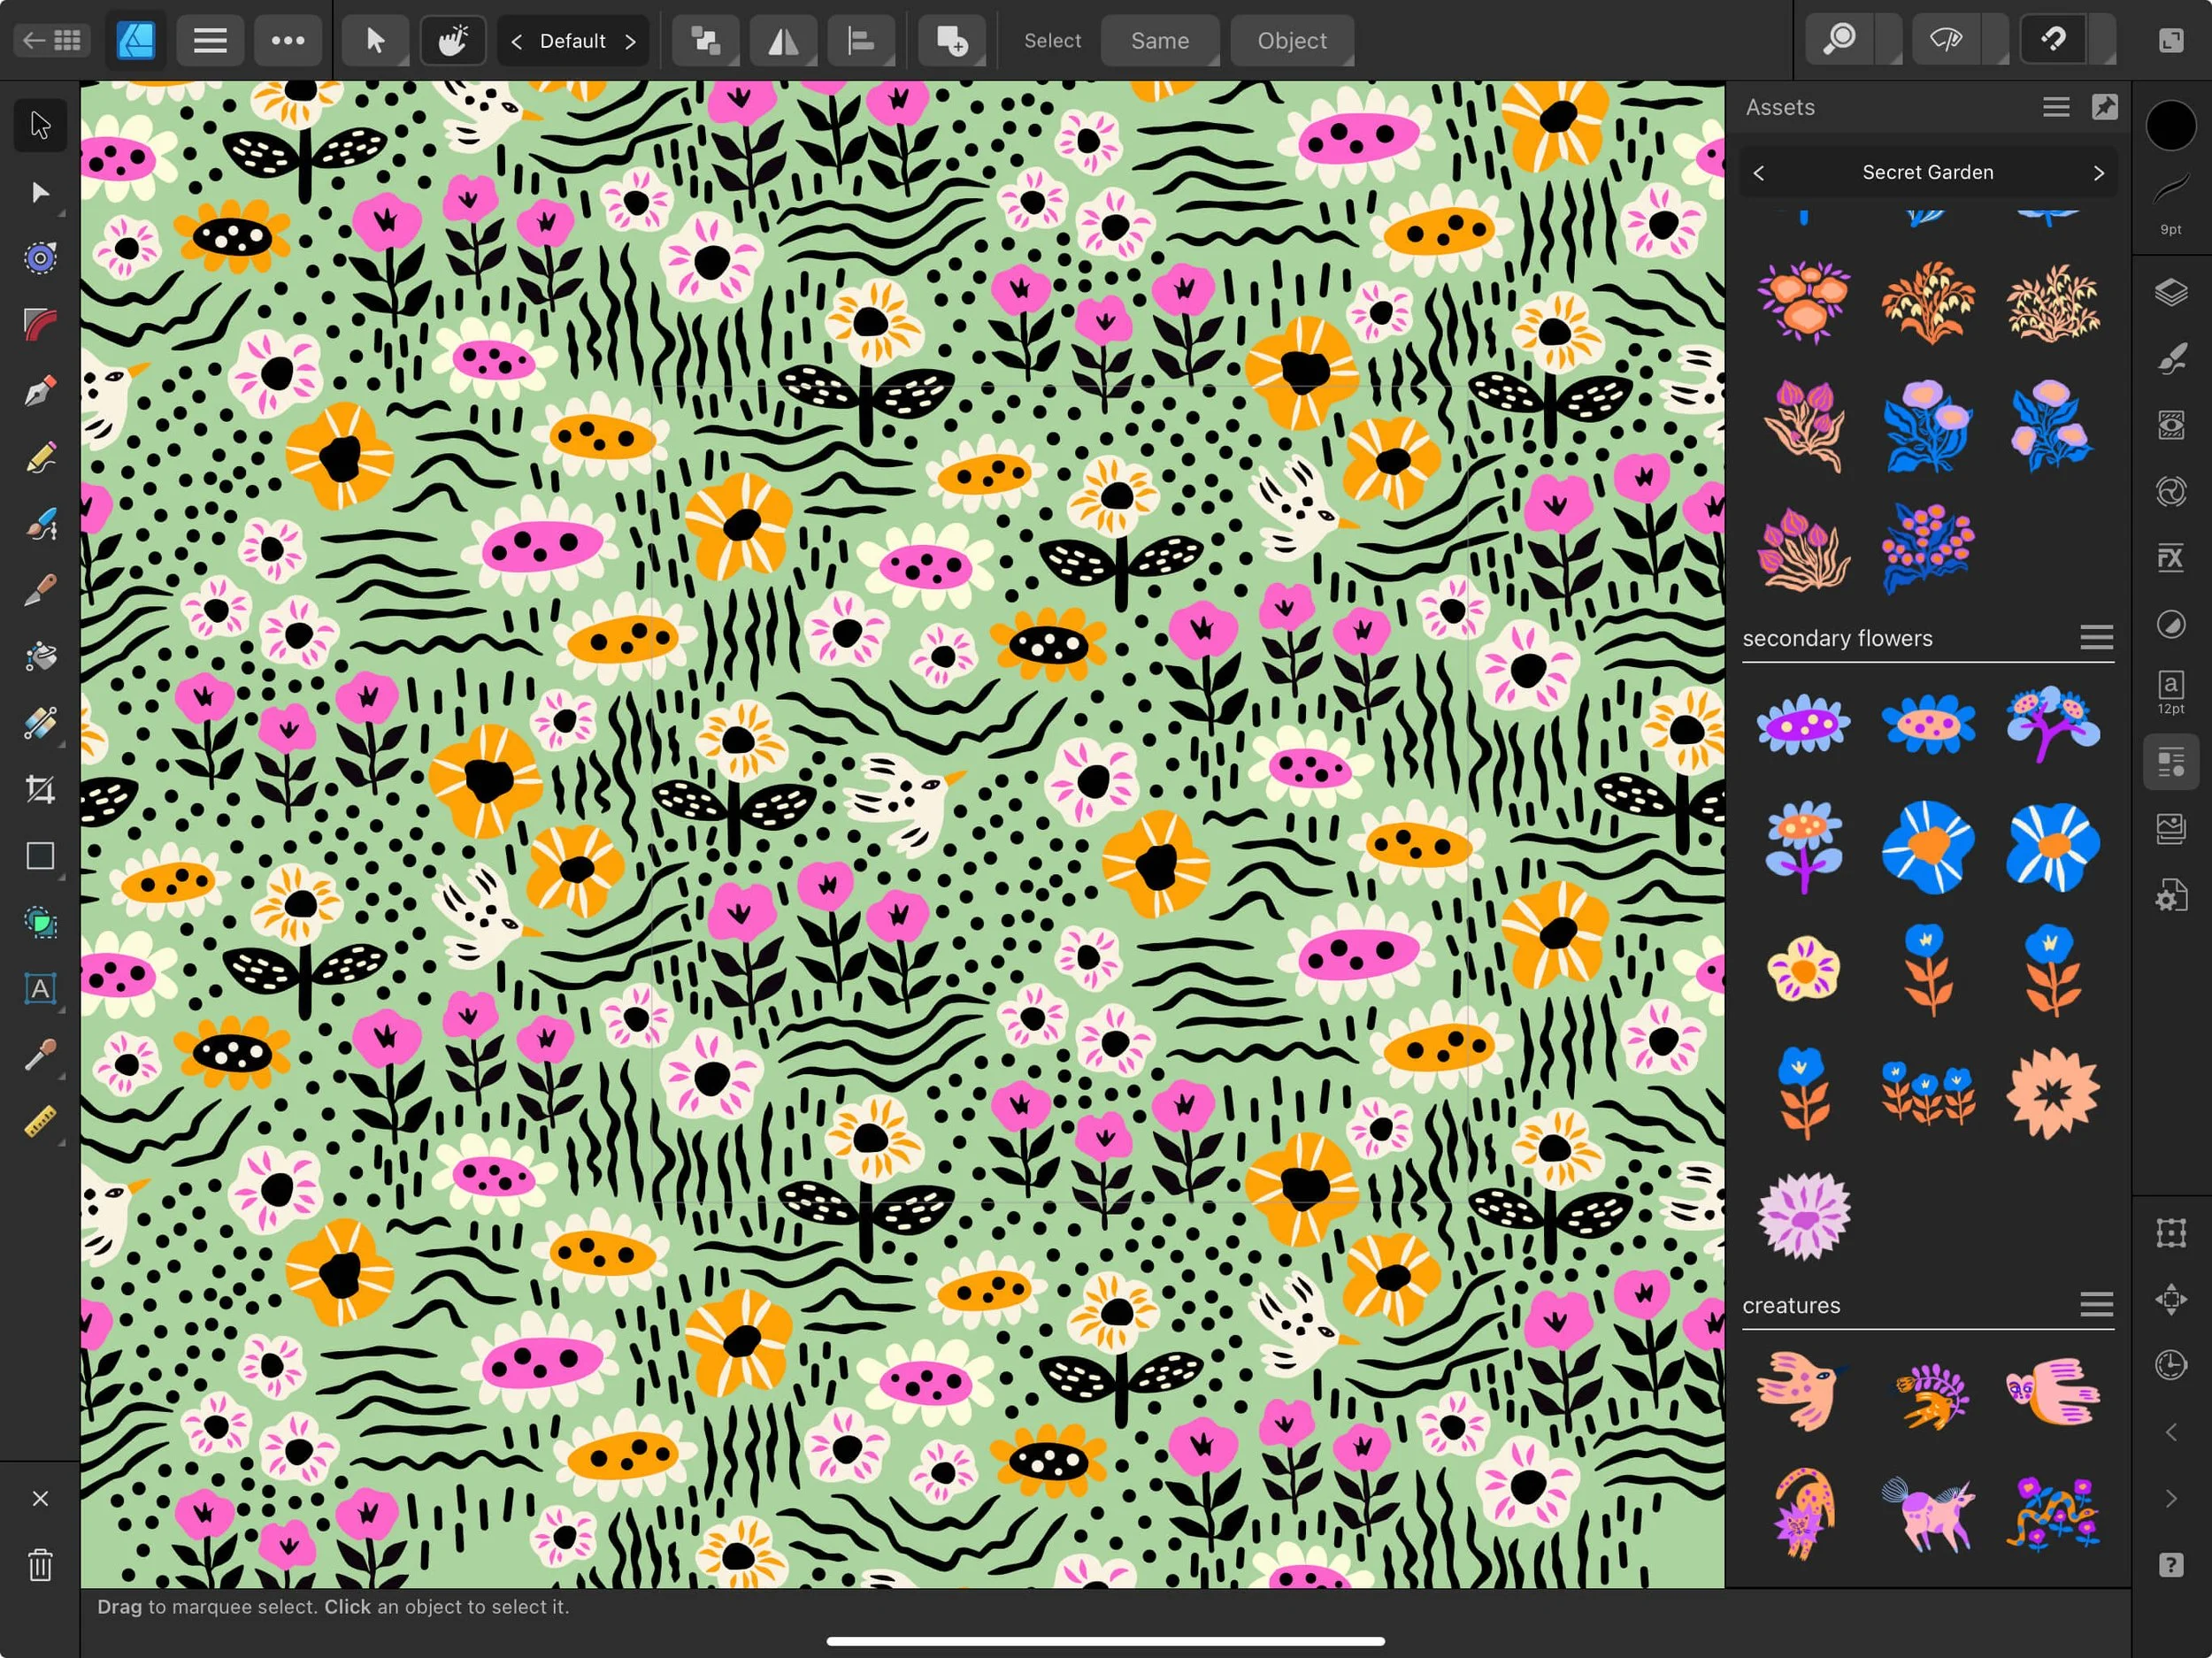
2) New ICONS in the document view
Once you create your first new document an open it, you will quickly notice that Serif has slightly revamped the iconography. The majority of the icons and tools that you already know have stayed, and there are a few new additions, such as the Knife Tool and the Shape Builder Tool. The Pencil Tool was merged together and now also nests the Vector Brush Tool, in case you’re looking for it.
A major change is the shift from the lower area Context toolbar - which now is out of the way and out of the workspace area. Instead, you can find it in the upper menu section.
The LAYERS panel also got a bit of a lifting, with new icons that mark layer types, such as text, vector, pixel, etc.
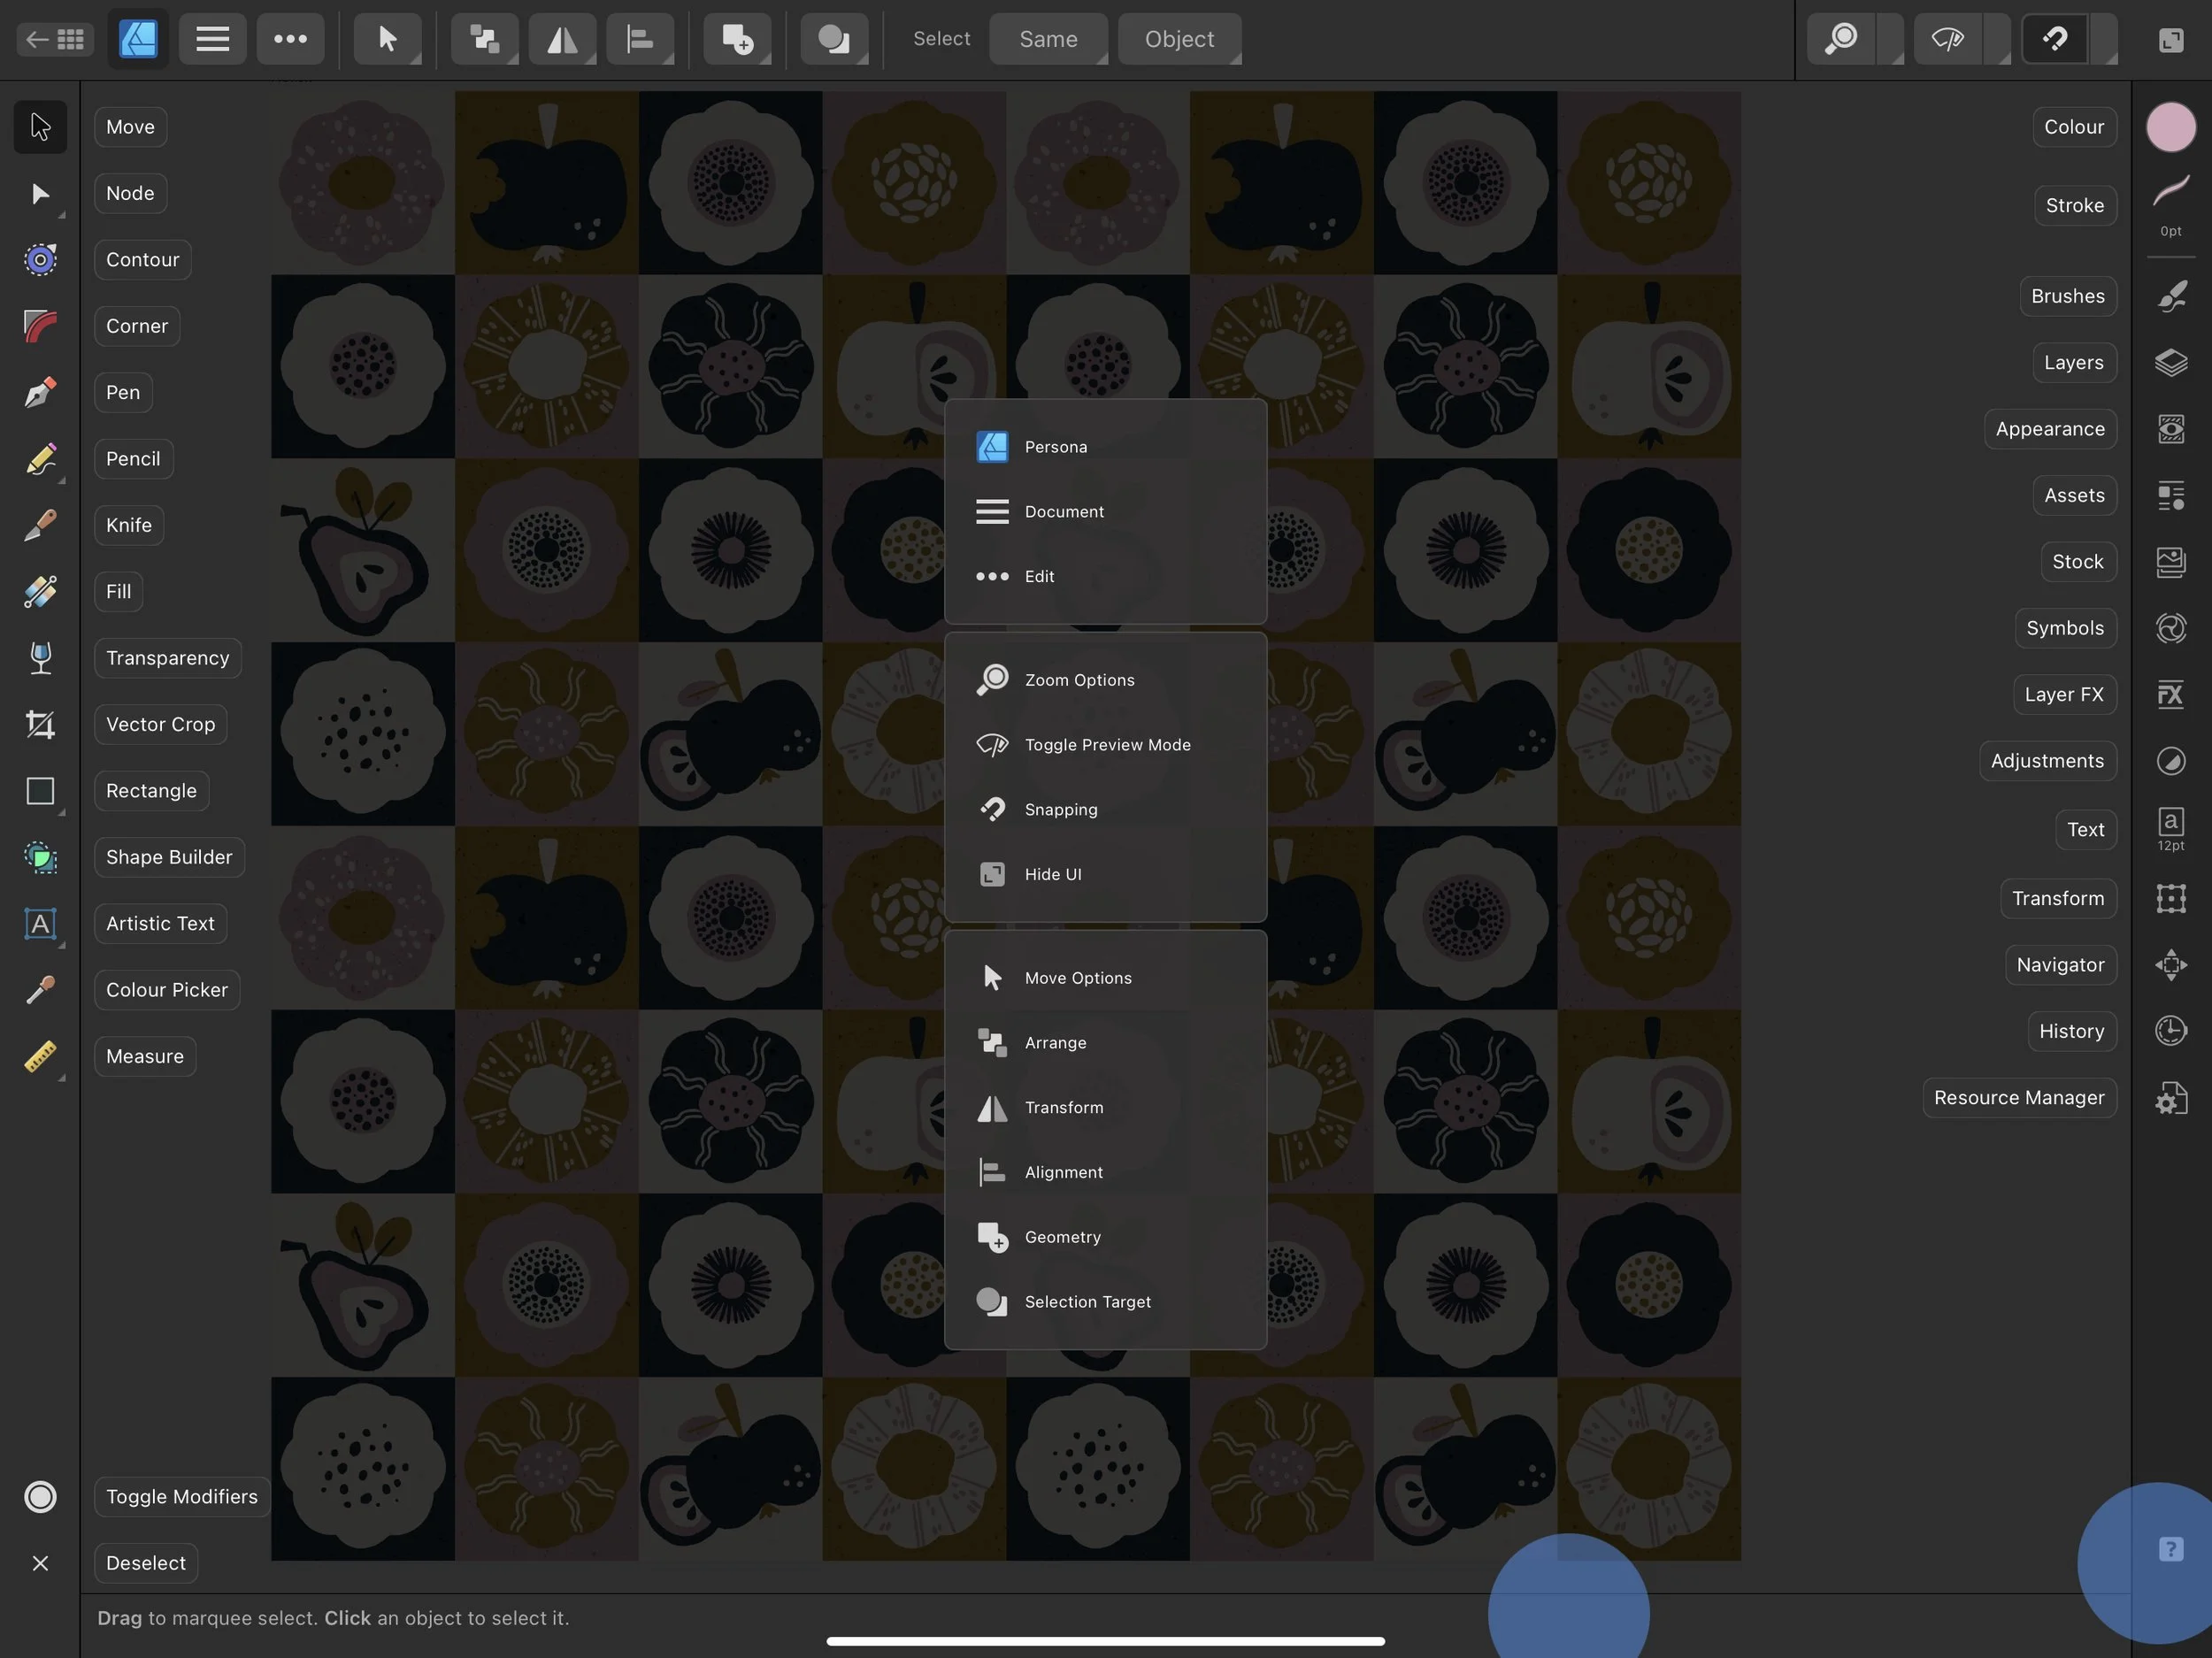
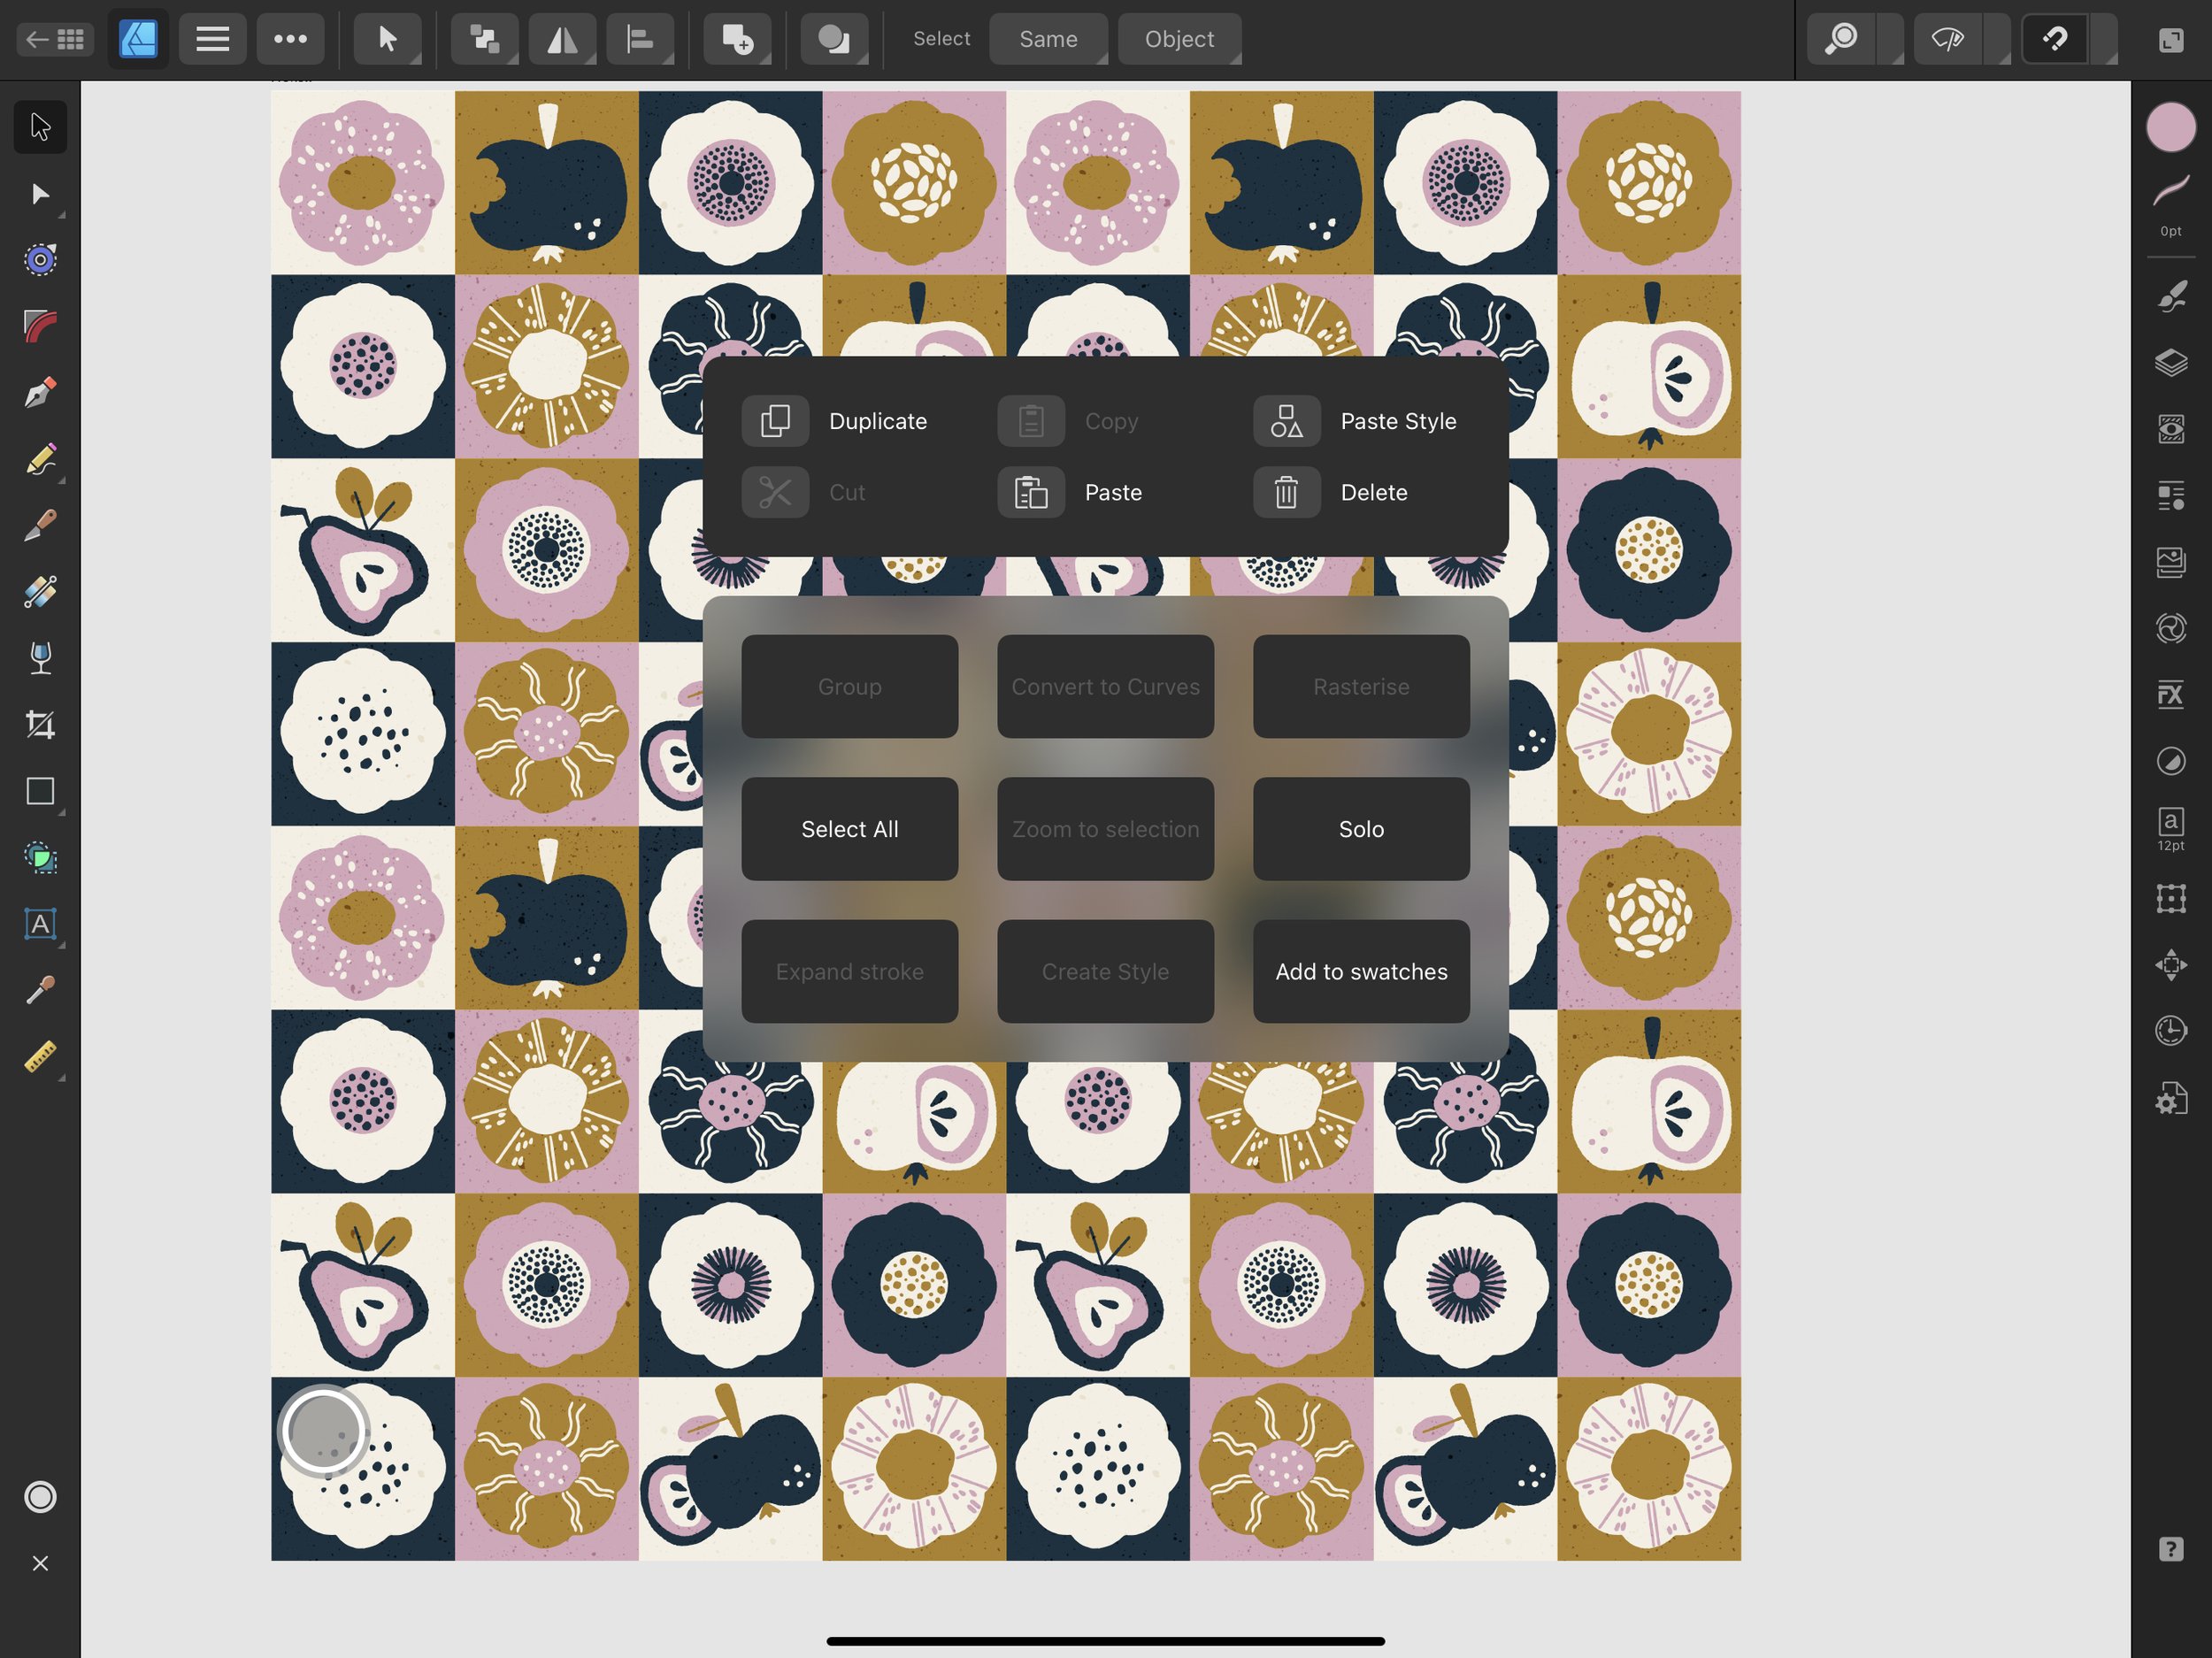
3) The Quick Menu
Simply long-press on your iPad screen or do the 3-fingers swipe-down and you will instantly open a handy Quick Menu view, which contains frequently used operations, such as duplicate, copy/paste, delete, etc.
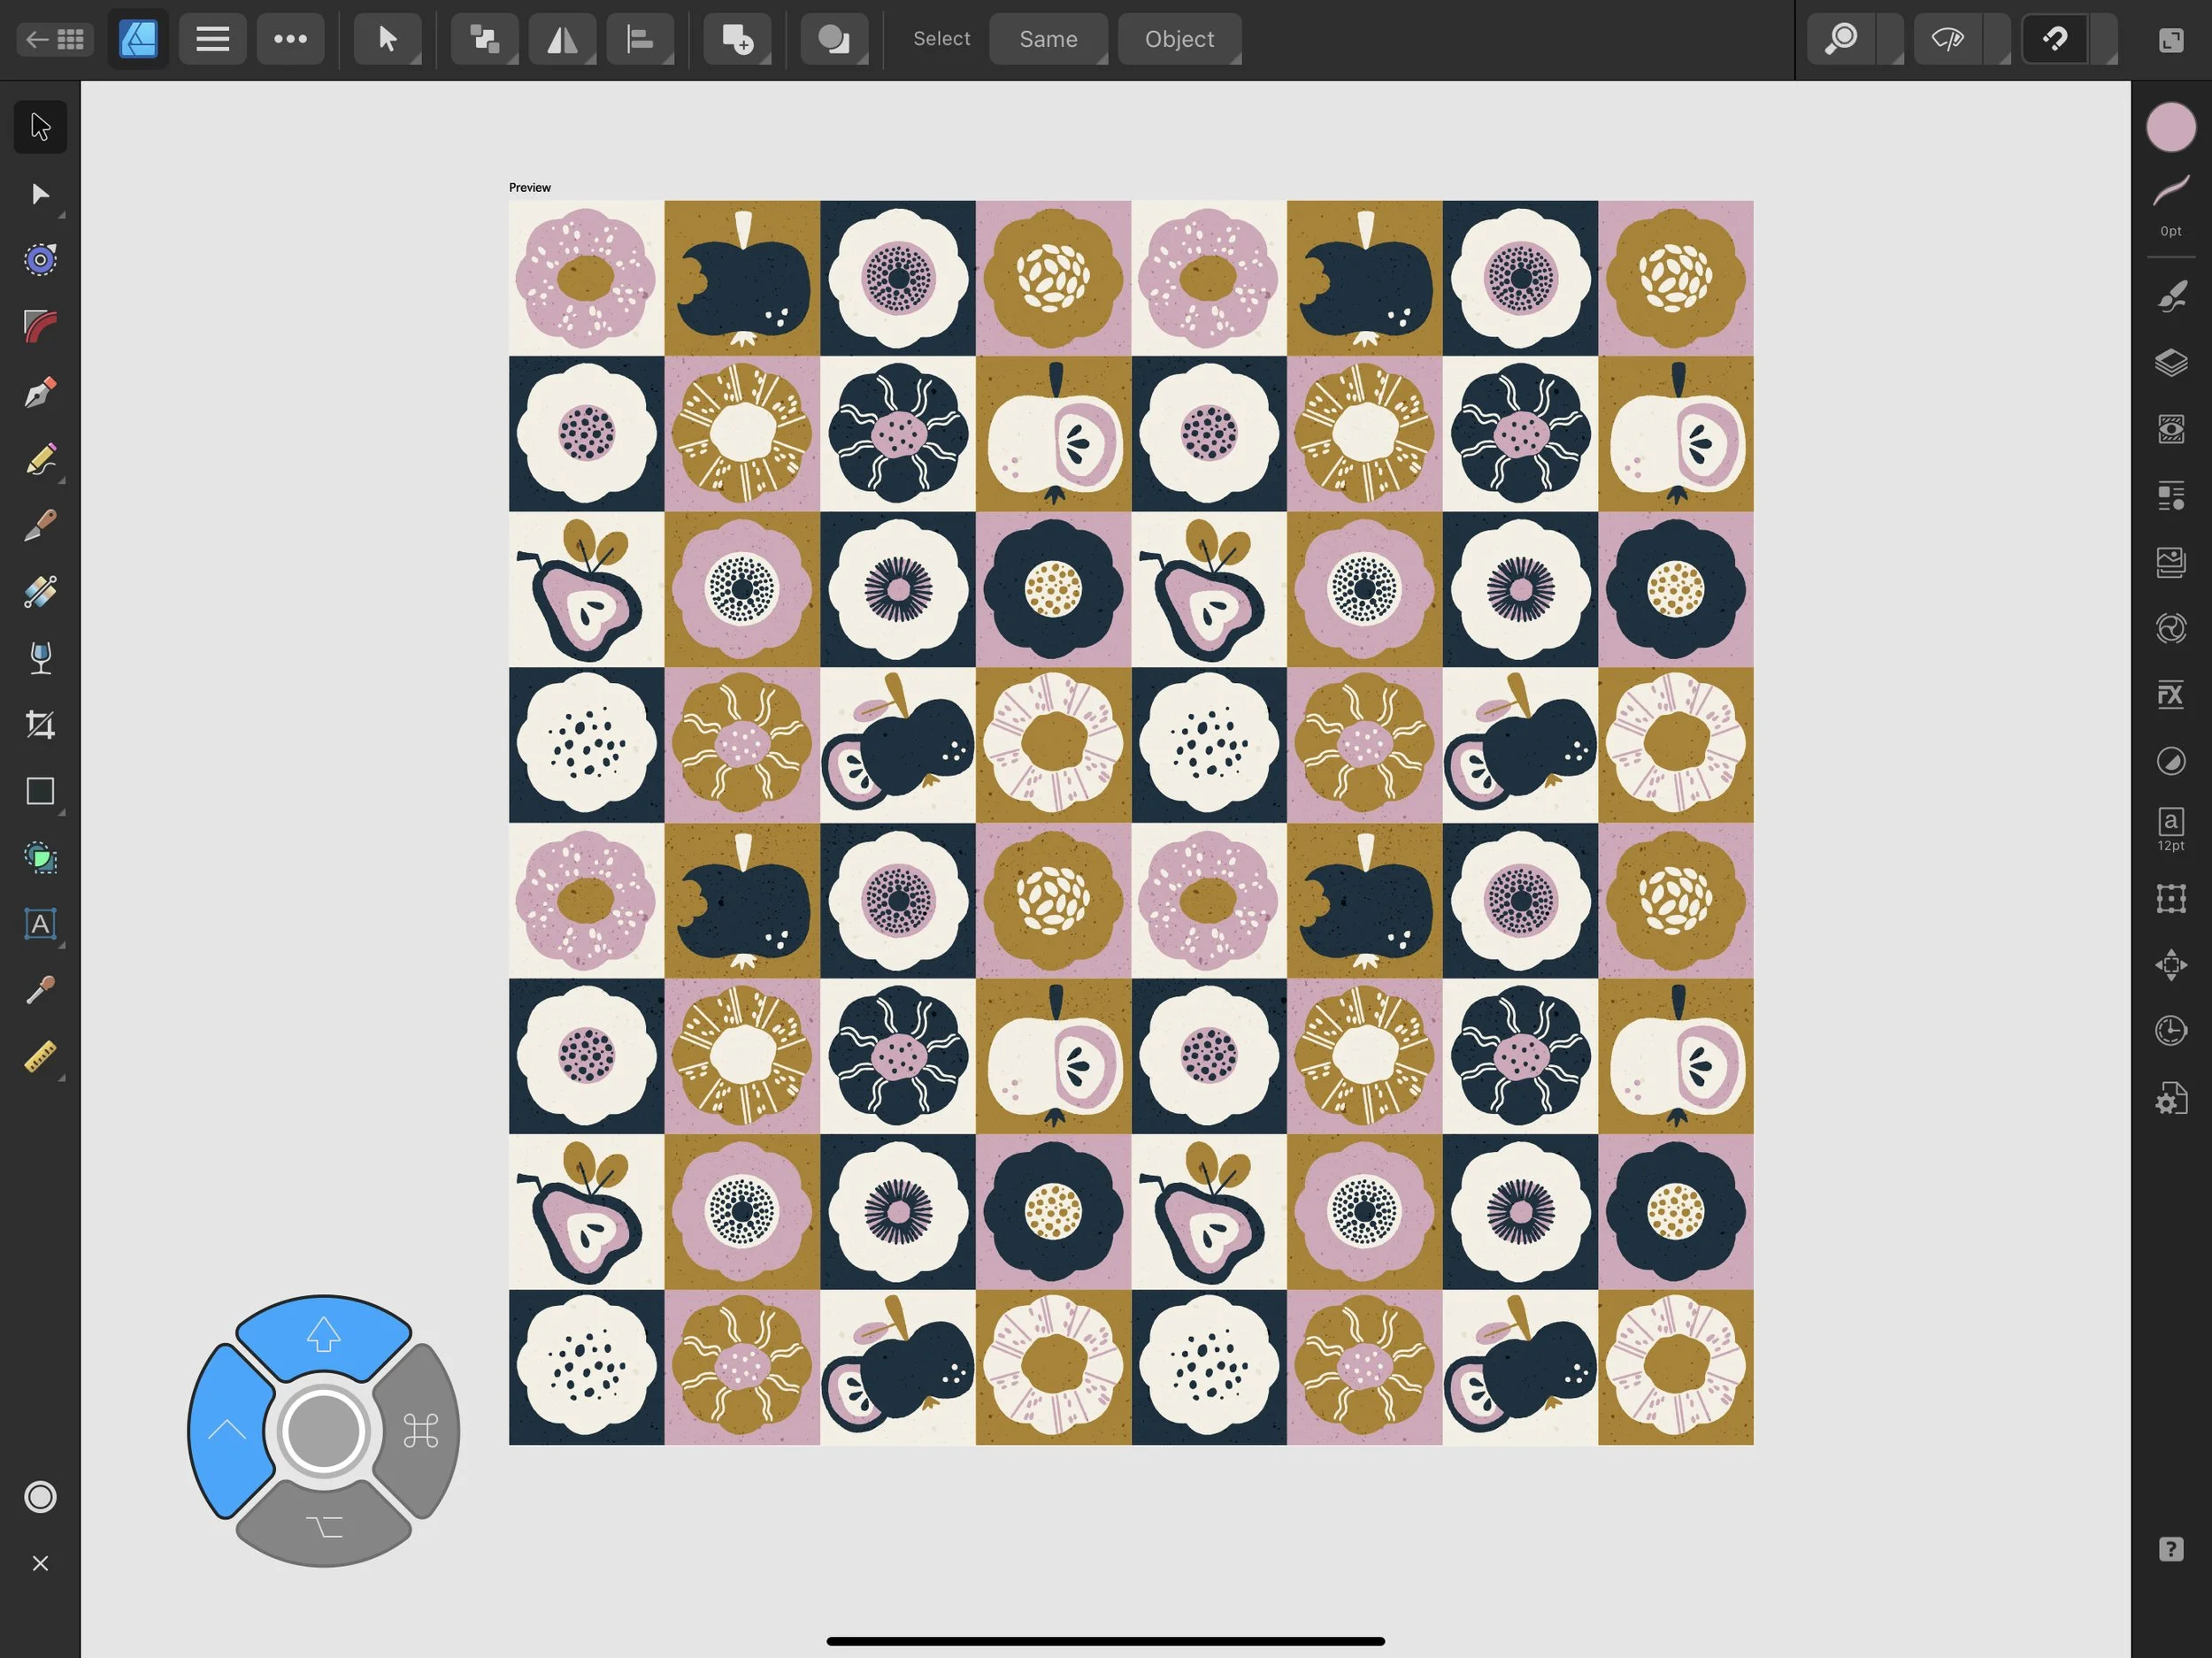
4) The Command Controller
A new Command Controller has been added, which helps in particular those who are used to working on their laptops using their keyboard. You will locate it in the lower left corner of your screen.
Regular gestures that I’ve been also teaching in my Affinity Designer Skillshare class still apply and the work just as usual.
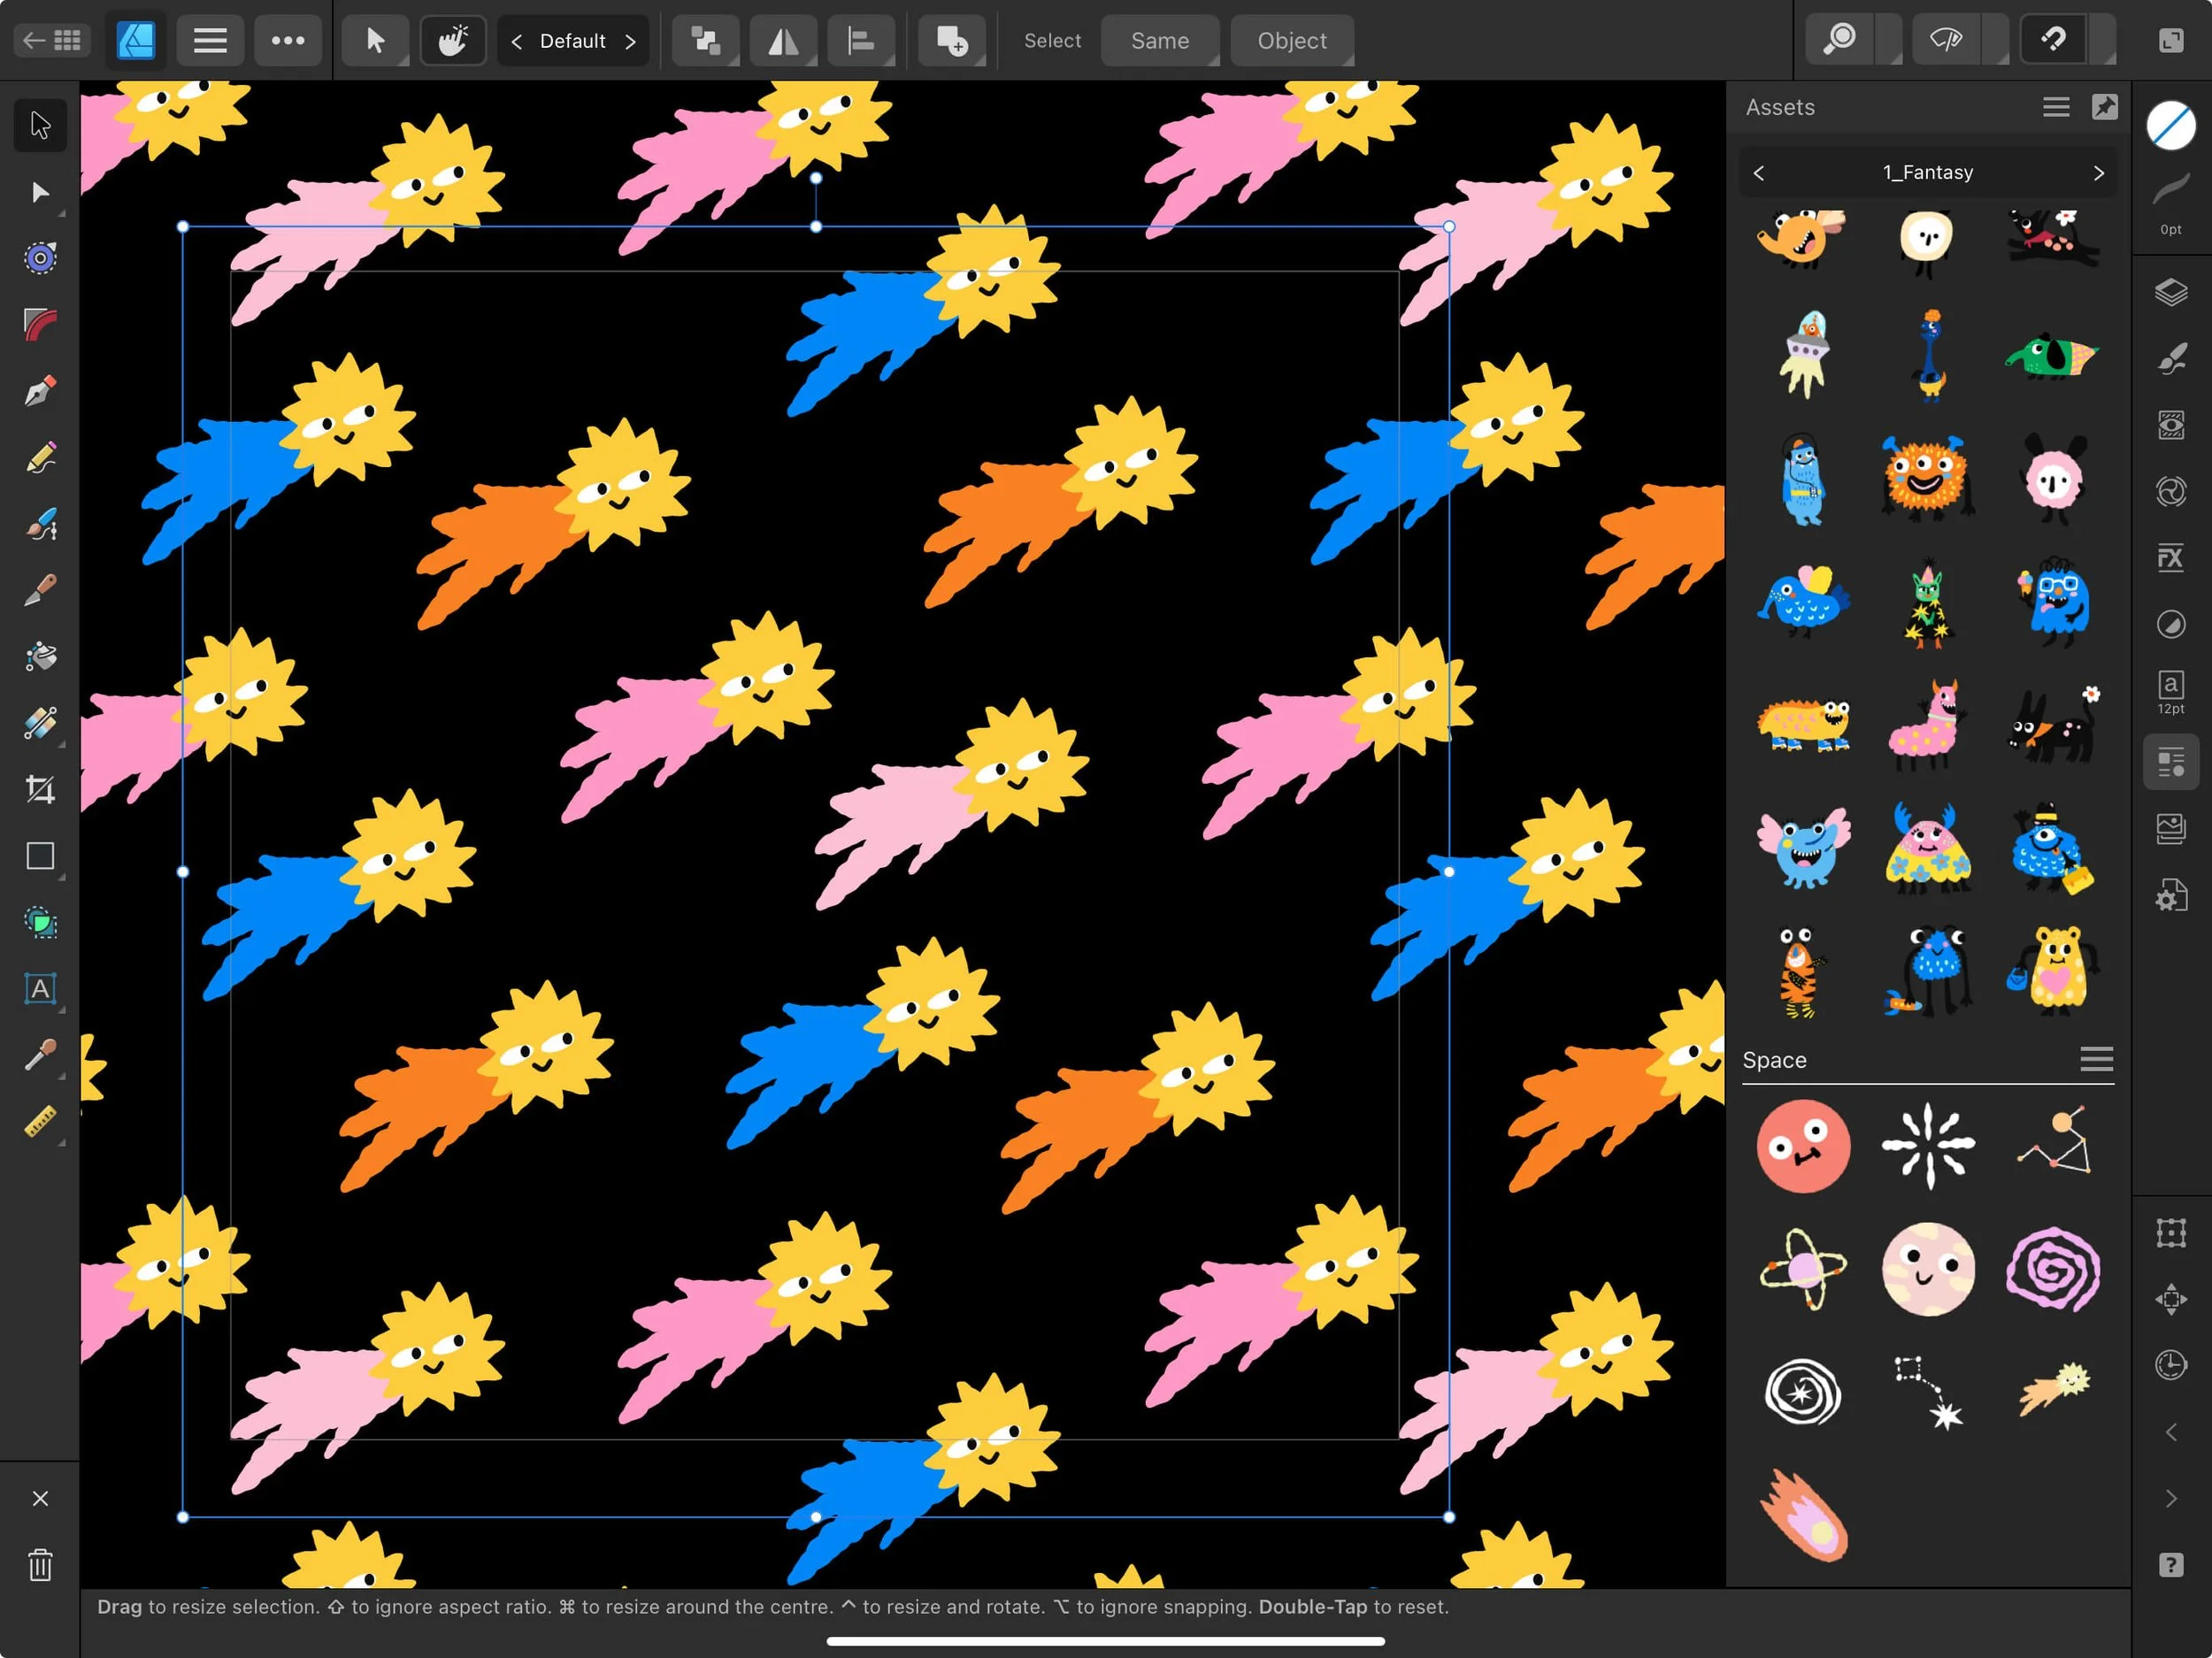
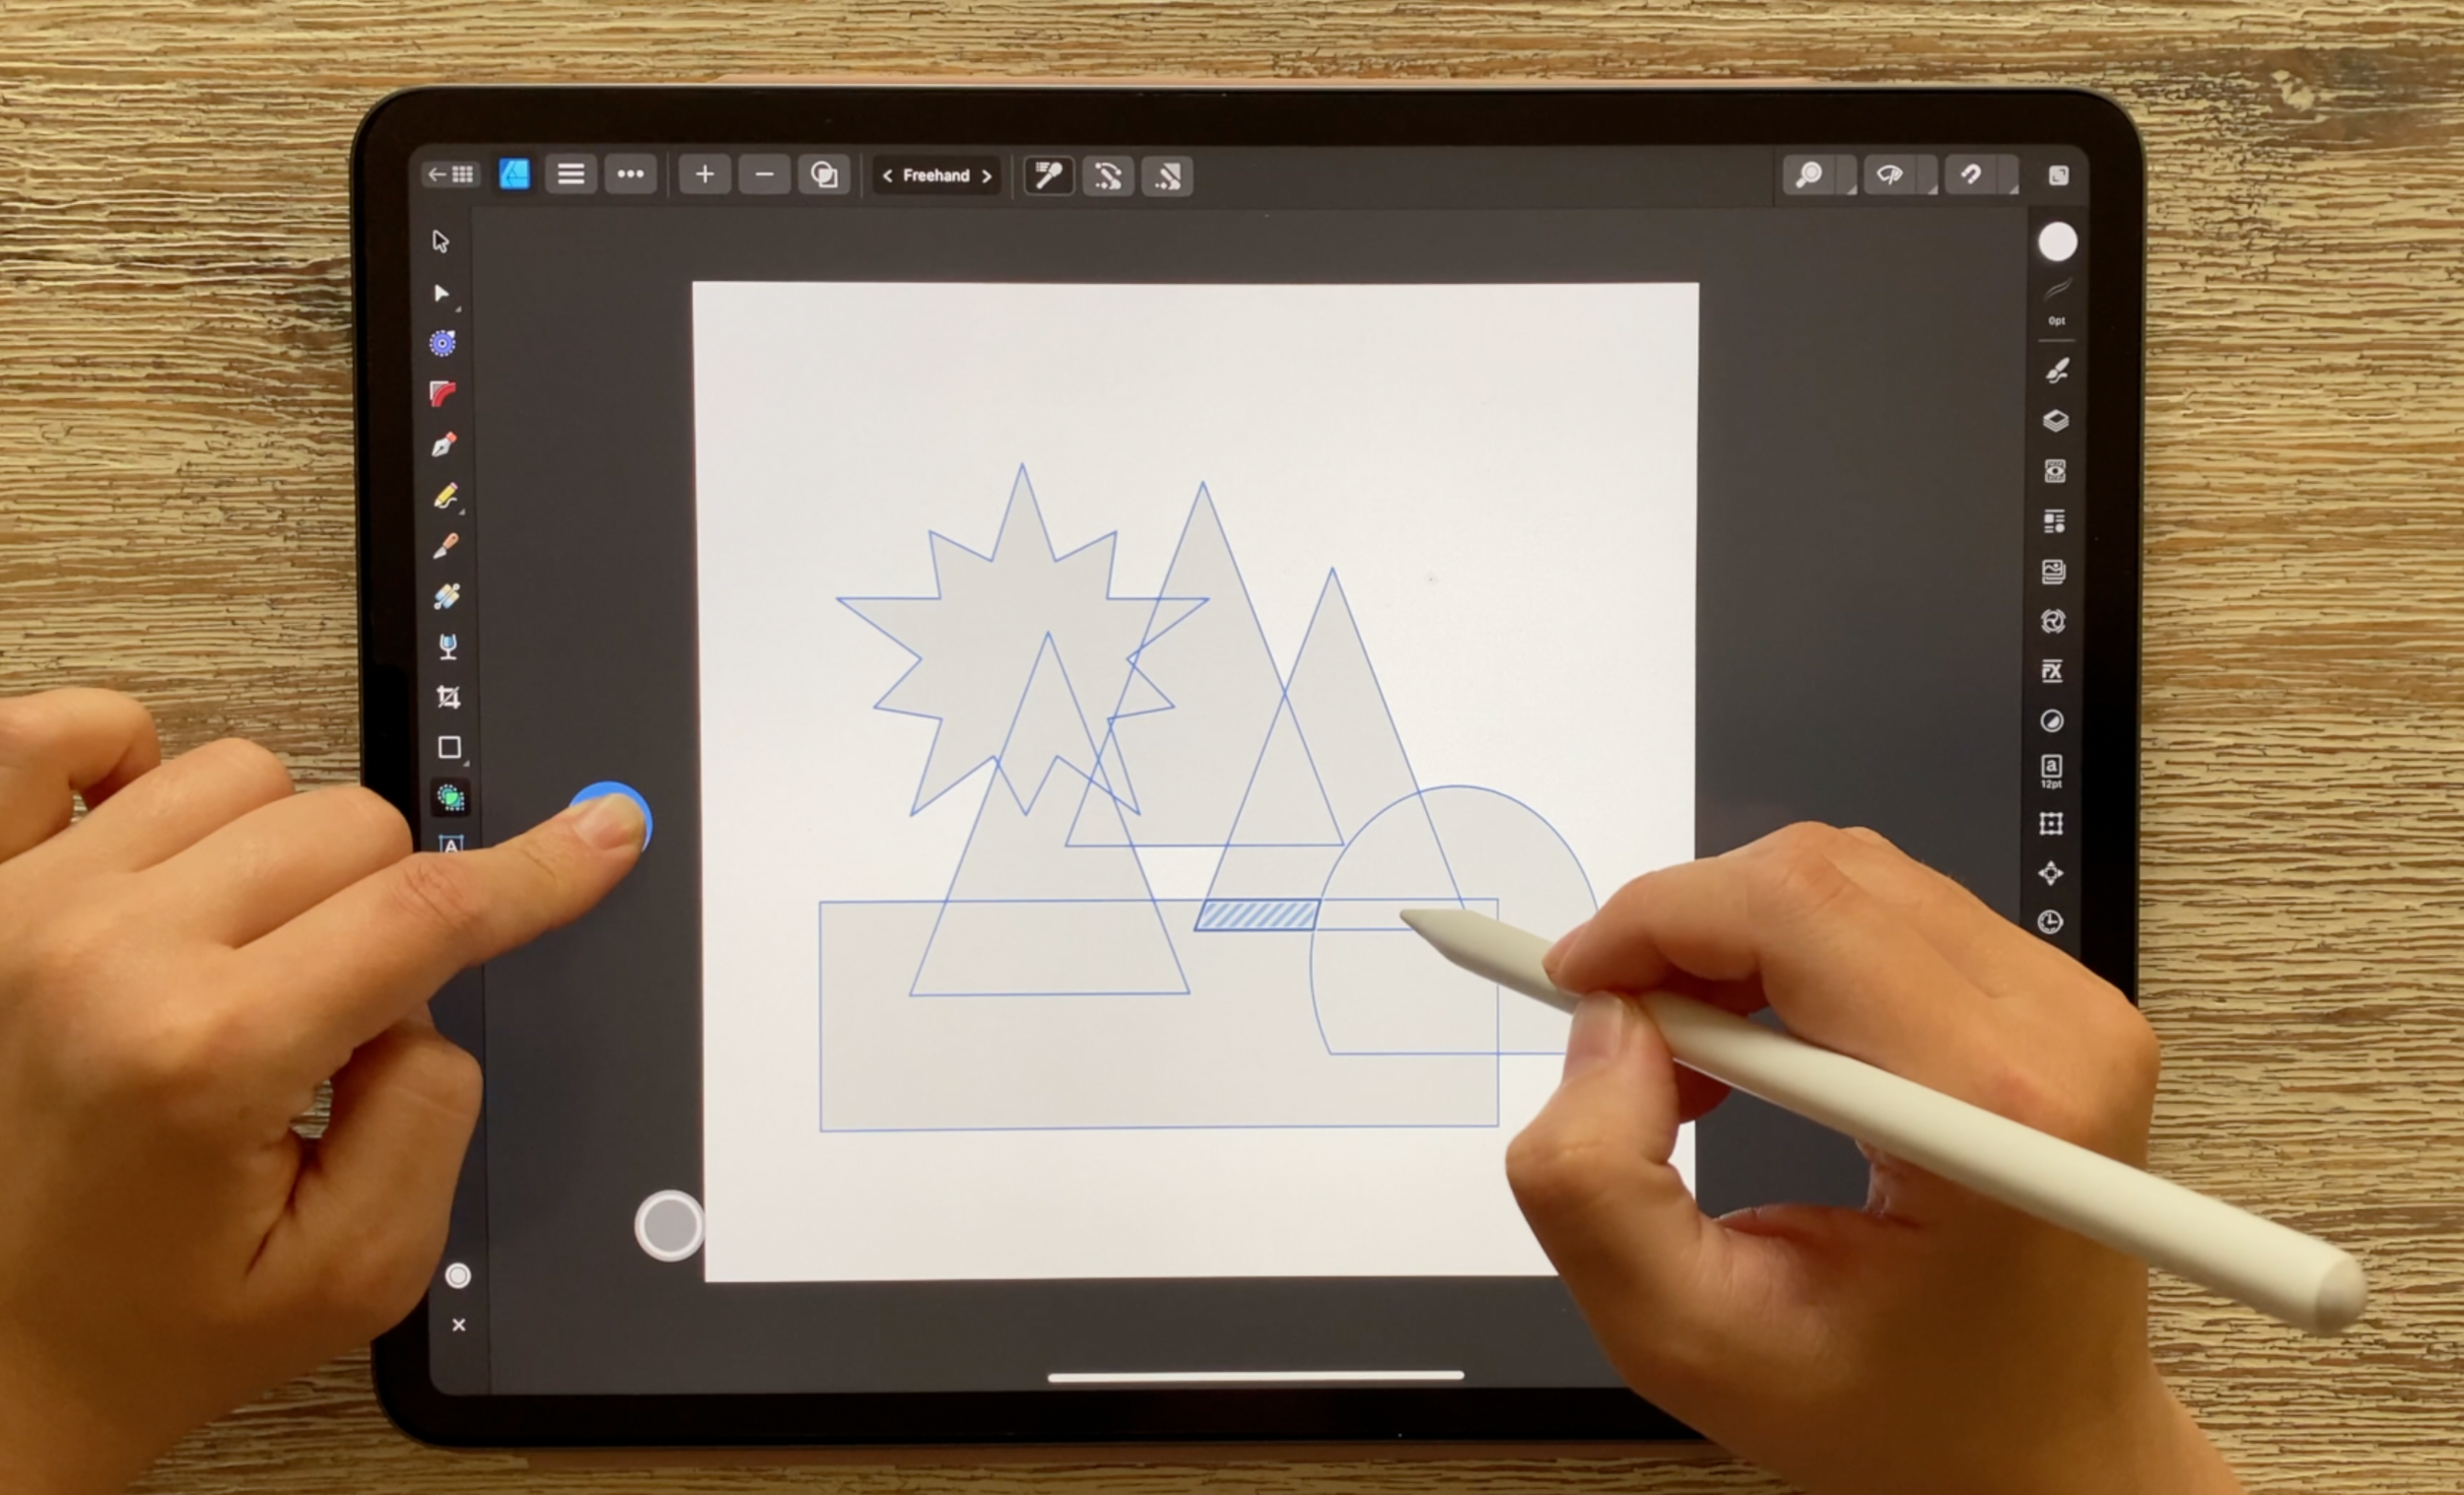
5) The Shape Builder Tool
This might be the biggest improvement of them all, the Shape Builder Tool! The context toolbar above gives you a + and - symbol thanks to which you can add or subtract shapes and in this way create any shape combinations you want.
6) The Knife Tool
You can now cut through your vector shapes and turn them into separate objects. You can use the “straight line” stabilizer option by selecting them in the context toolbar on top of your screen.
You can also cut through text - it will automatically convert text into curves.