Affinity Designer Repeat Patterns With a Live Pattern Preview
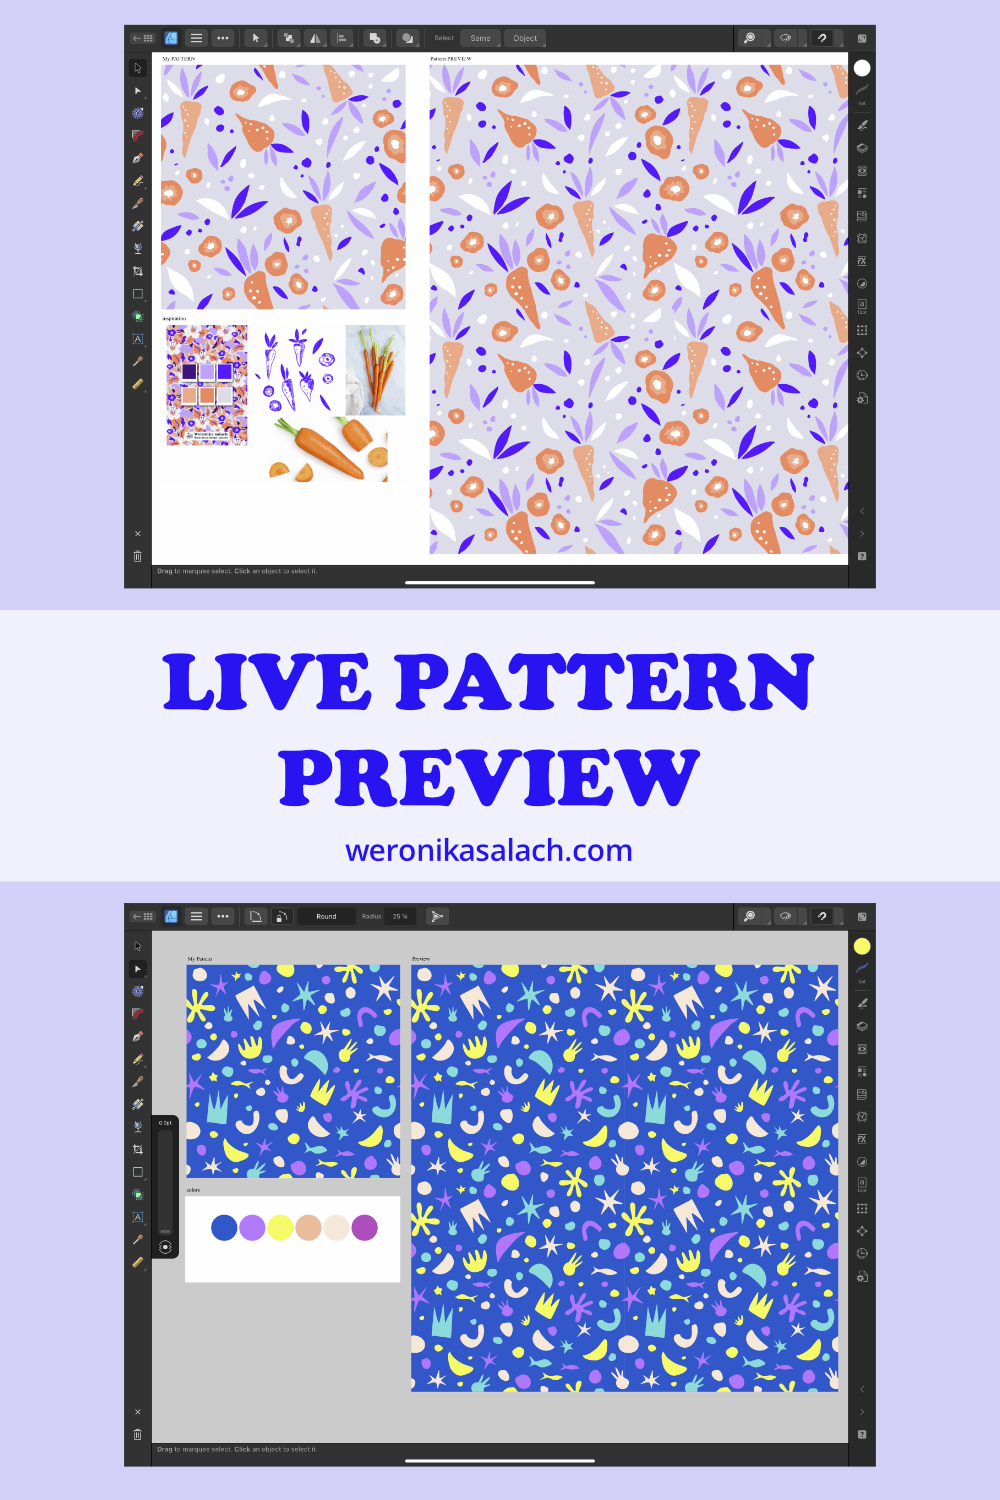
Affinity Designer is a powerful tool for creating repeat patterns and one if its biggest strengths is being able to work with a Live Pattern Preview thanks to which you can create seamless patterns with unparalleled control and precision.
Live Pattern Preview allows you to see the results of your pattern adjustments in real time. You don't have to wait for the rendering process to finish - you can instantly preview changes as you make them. This makes it incredibly easy to fine-tune your design until it is perfect. It also eliminates guesswork and ensures that your repeat patterns are perfectly aligned every time.
You can keep on reading this blog post, or you can jump right onto my YouTube channel where I’m sharing a sample lesson from my Patterns course about creating a Live Pattern Preview from scratch! We are starting our adventure with repeat patterns from a full-drop repeat.
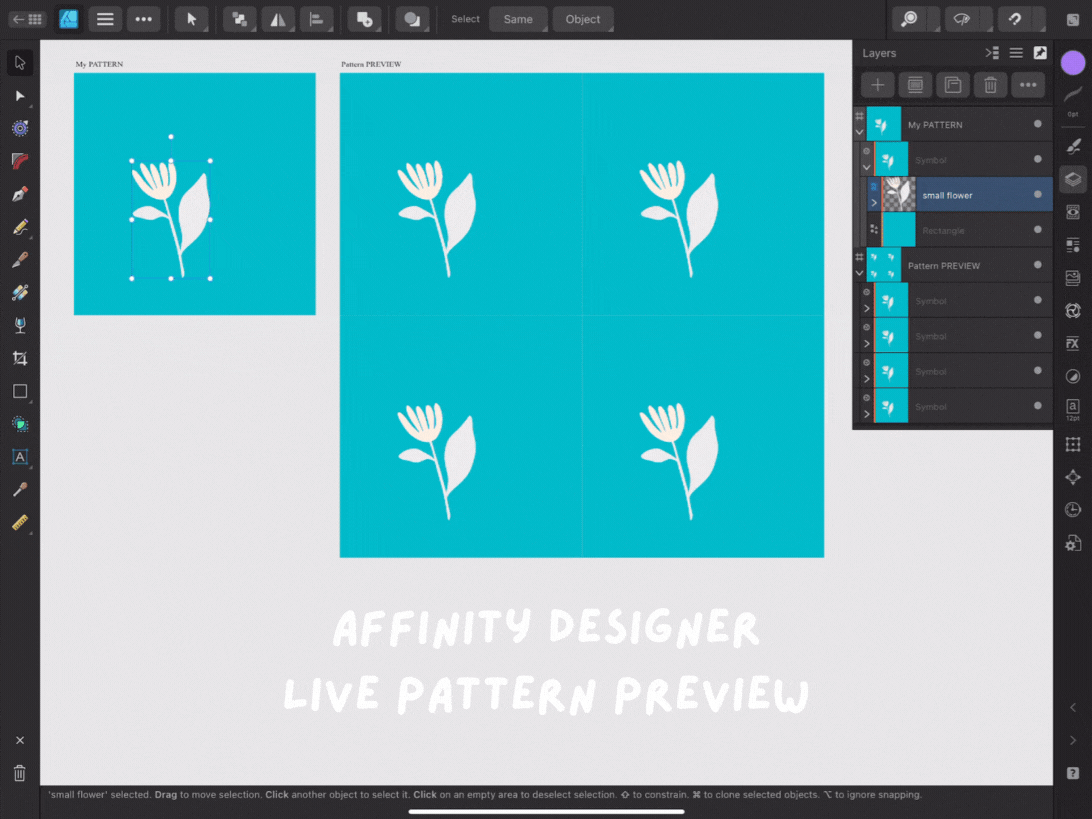
Let me show you two screenshots from my iPad Affinity Designer interface so that you can have a look at my artboards layout:
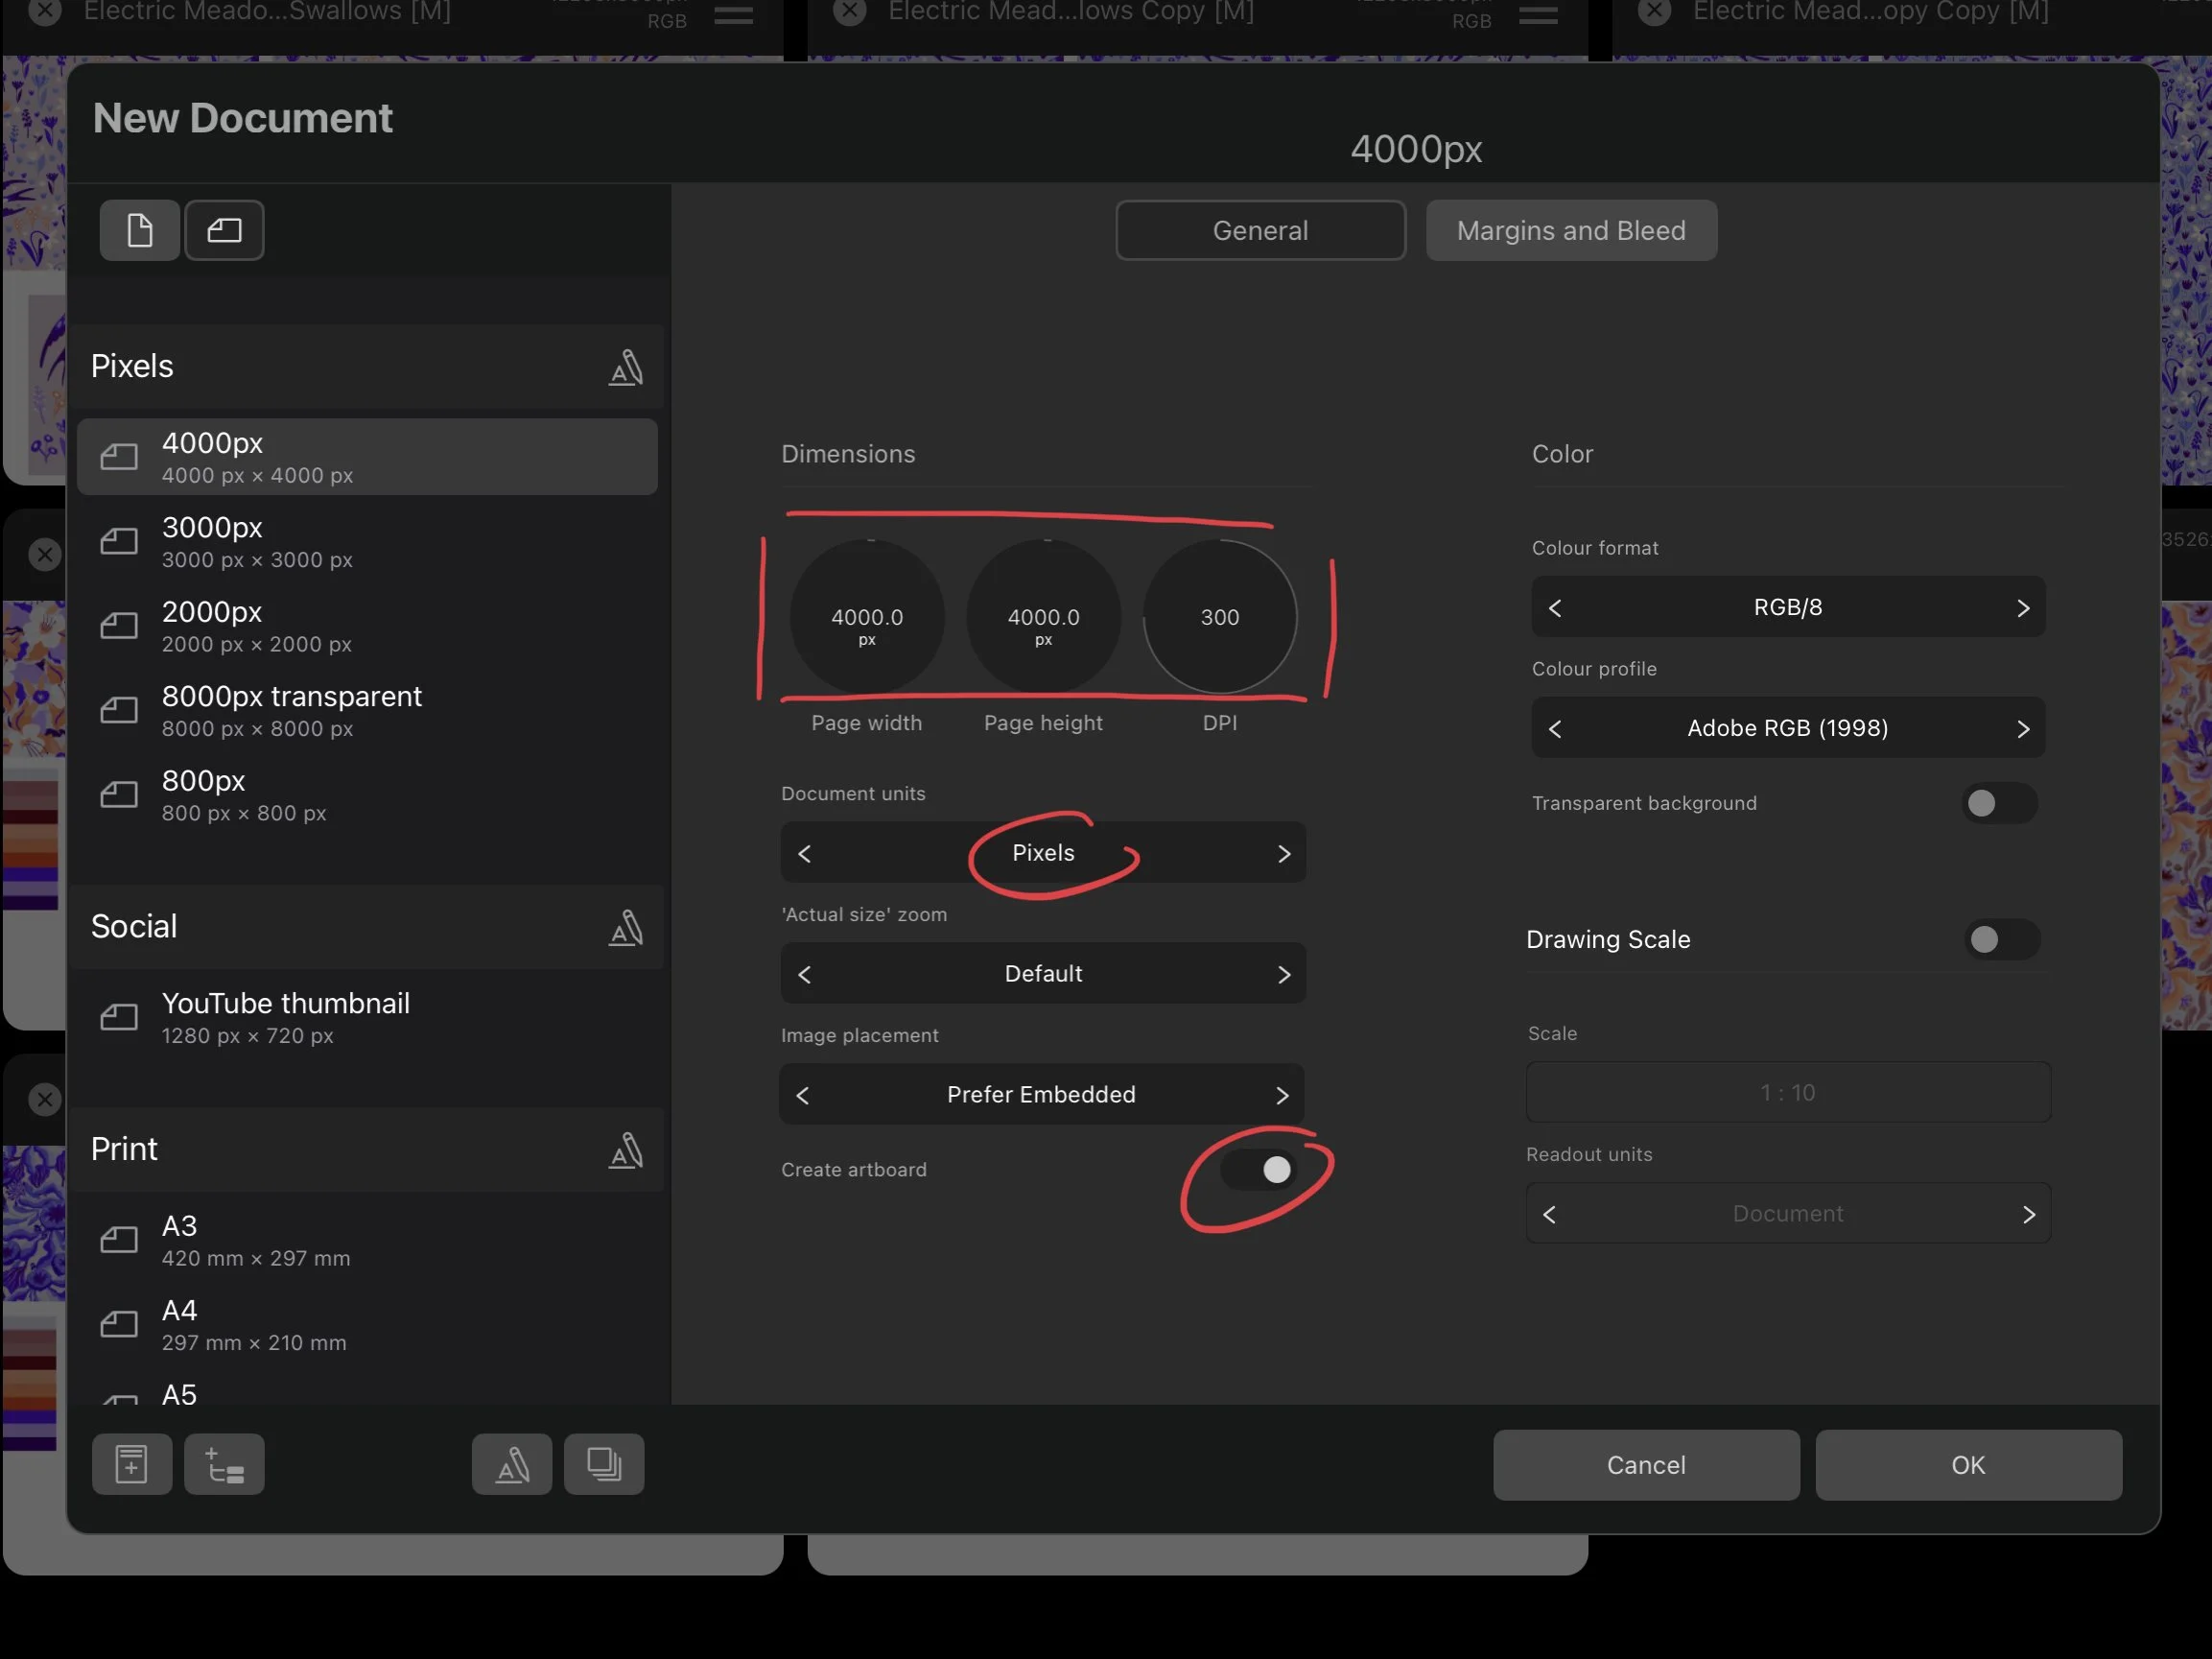
1) Choose the right document size
Choose a document size that will work best for your pattern tile. Remember if you’re planning to create your patterns with pixel layers or raster textures, it’s always a good idea to work with bigger documents. I have recently carried out an opinion pool in our Facebook Affinity Designer support group, and I see artists mainly using the following tile dimensions for their repeat patterns:
2000 x 2000 px
3000 x 3000 px
3600 x 3600 px
4000 x 4000 px
Important: Make sure that when you create your document, you mark the option to create a new Artboard, and set it up at 300 dpi.
2) Create the Preview Artboard
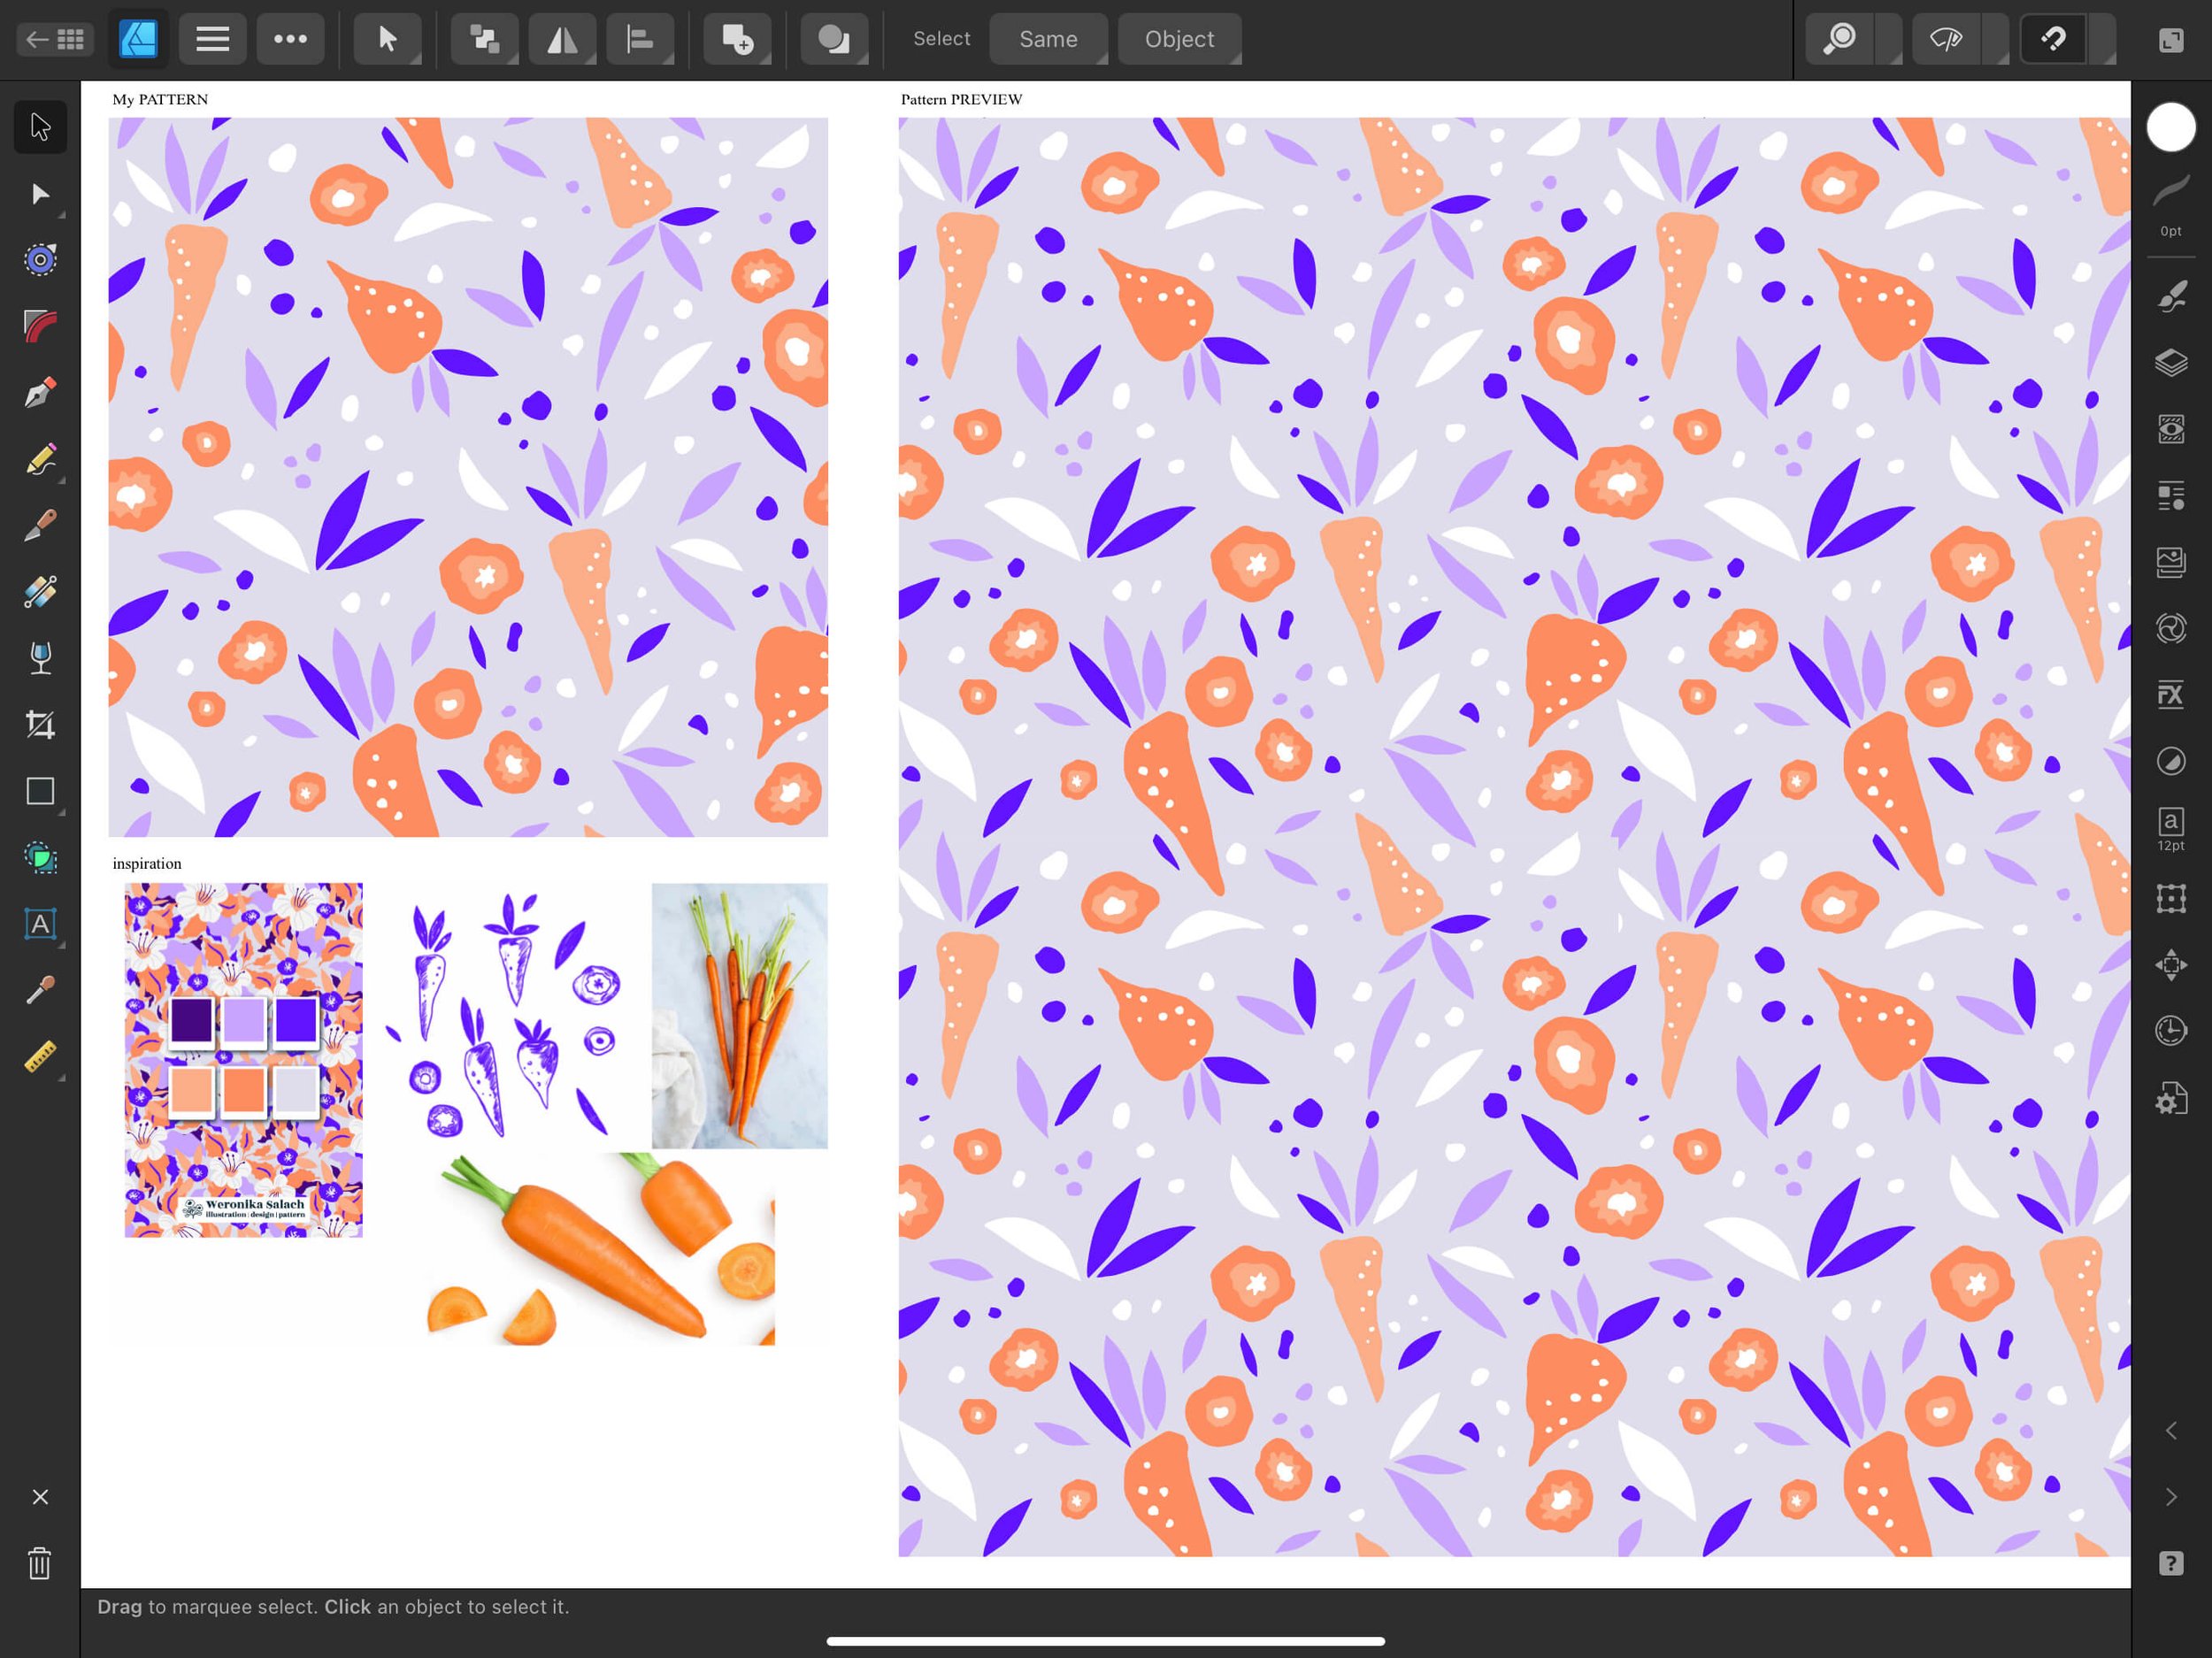
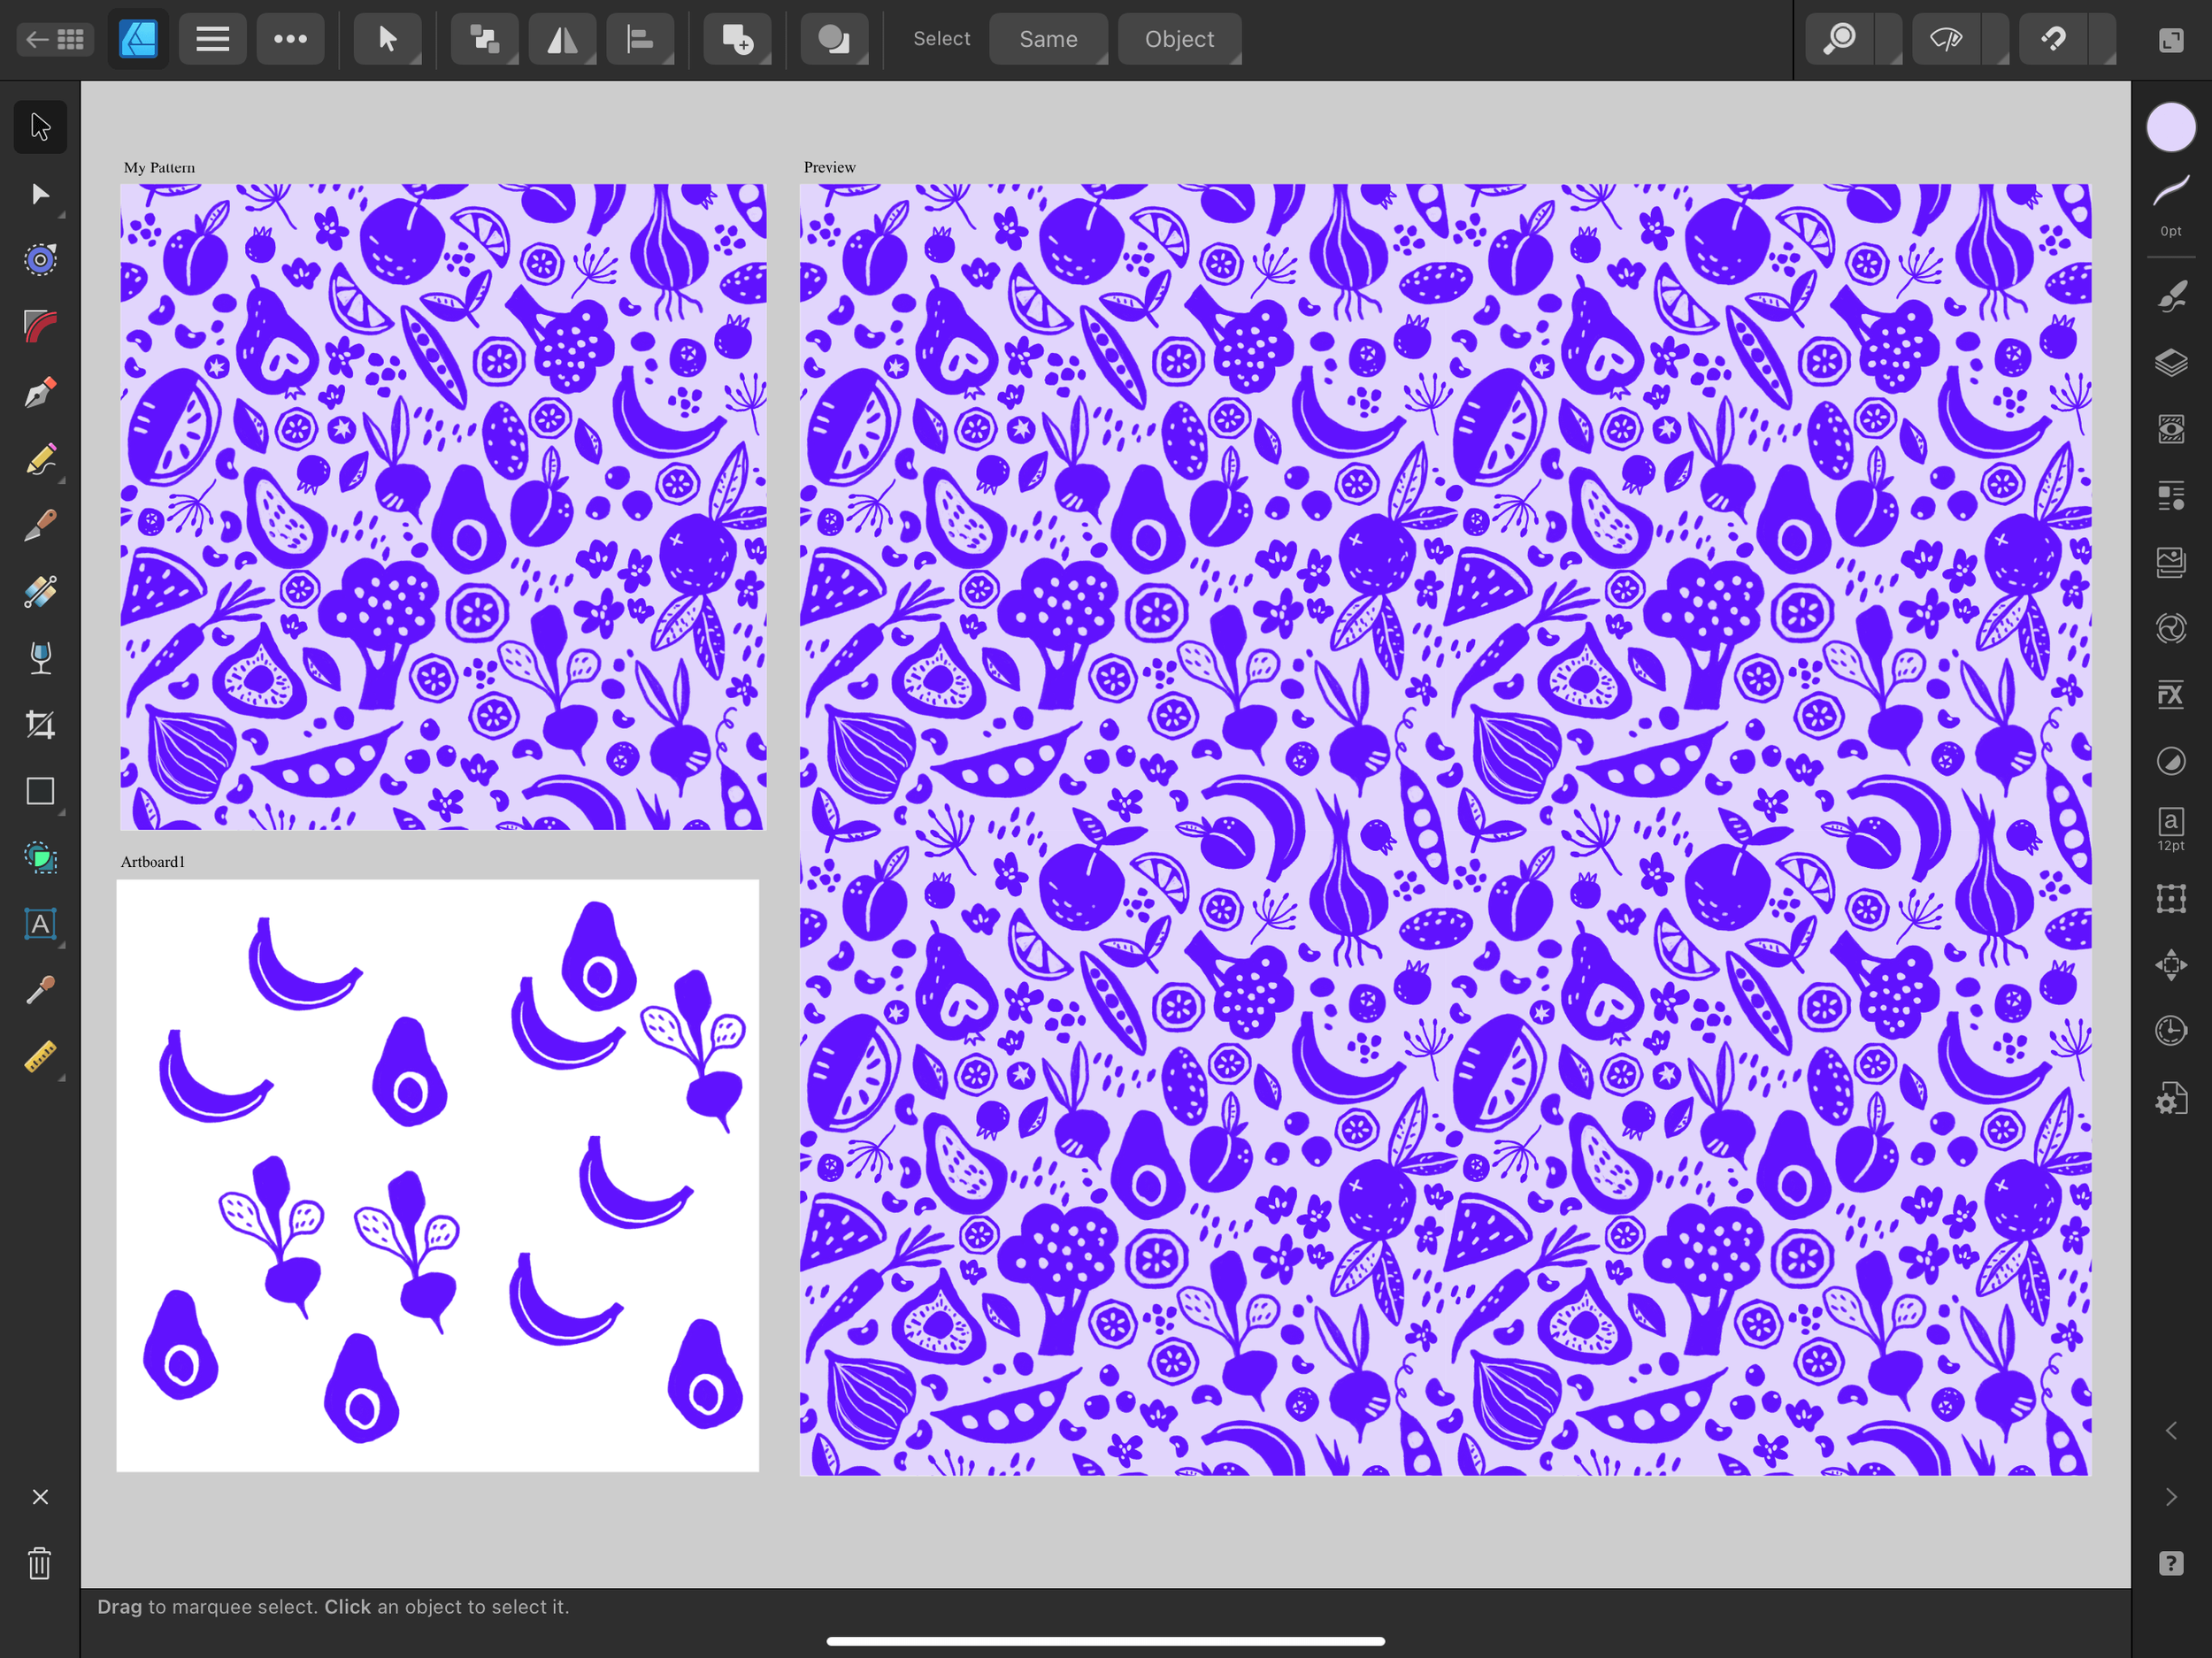
Go ahead and manually add in an extra Artboard, which will be double the size of your main pattern tile. I personally work with a tile dimension of 4000 x 4000 px, so my Preview Artboard is going to be 8000 x 8000 px big. You can always adjust the dimensions of any of your Artboards in the Transform Studio.

3) Create a Symbol
In order to create this amazing Live Pattern Preview, you need to get a bit more familiar with using Symbols in Affinity Designer. I personally felt a bit intimidated by using Symbols, but now we’re best friends :)
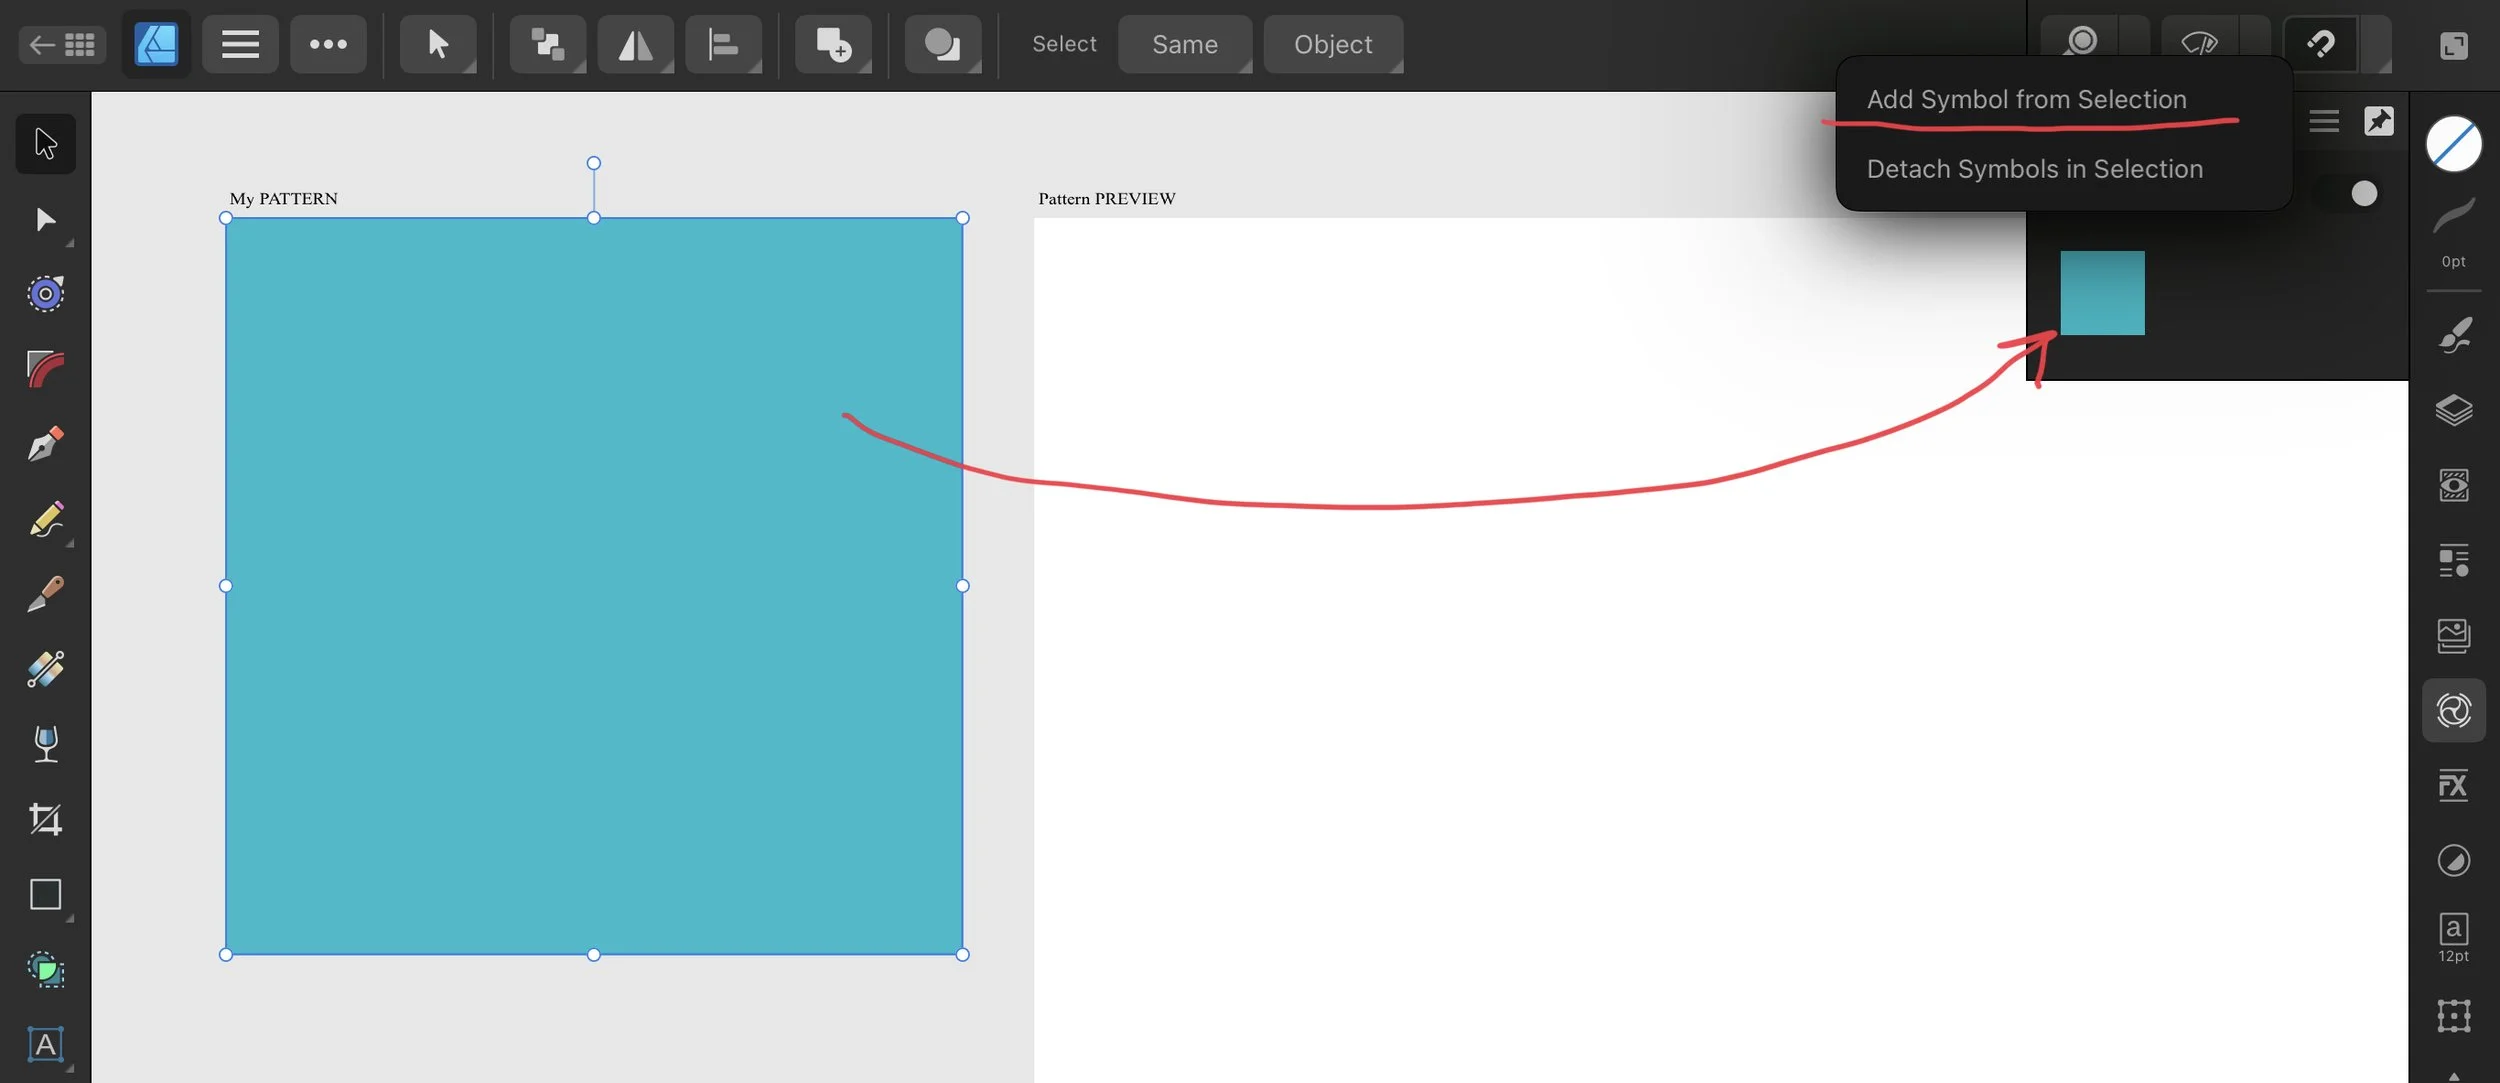
What is a Symbol really? Serif define it as “an intelligent object that can be placed repeatedly in your document”. The way I see Symbols is that they’re quite like a copy tool or a tracing tool in a way. When you create a Symbol, you also create an automatic linking. By default you switch their synchronization on, but if you wish to edit only one of the Symbols (without affecting the others) you can switch this synchronization off. You access your Symbols and all the editing functions in the Symbol Studio.
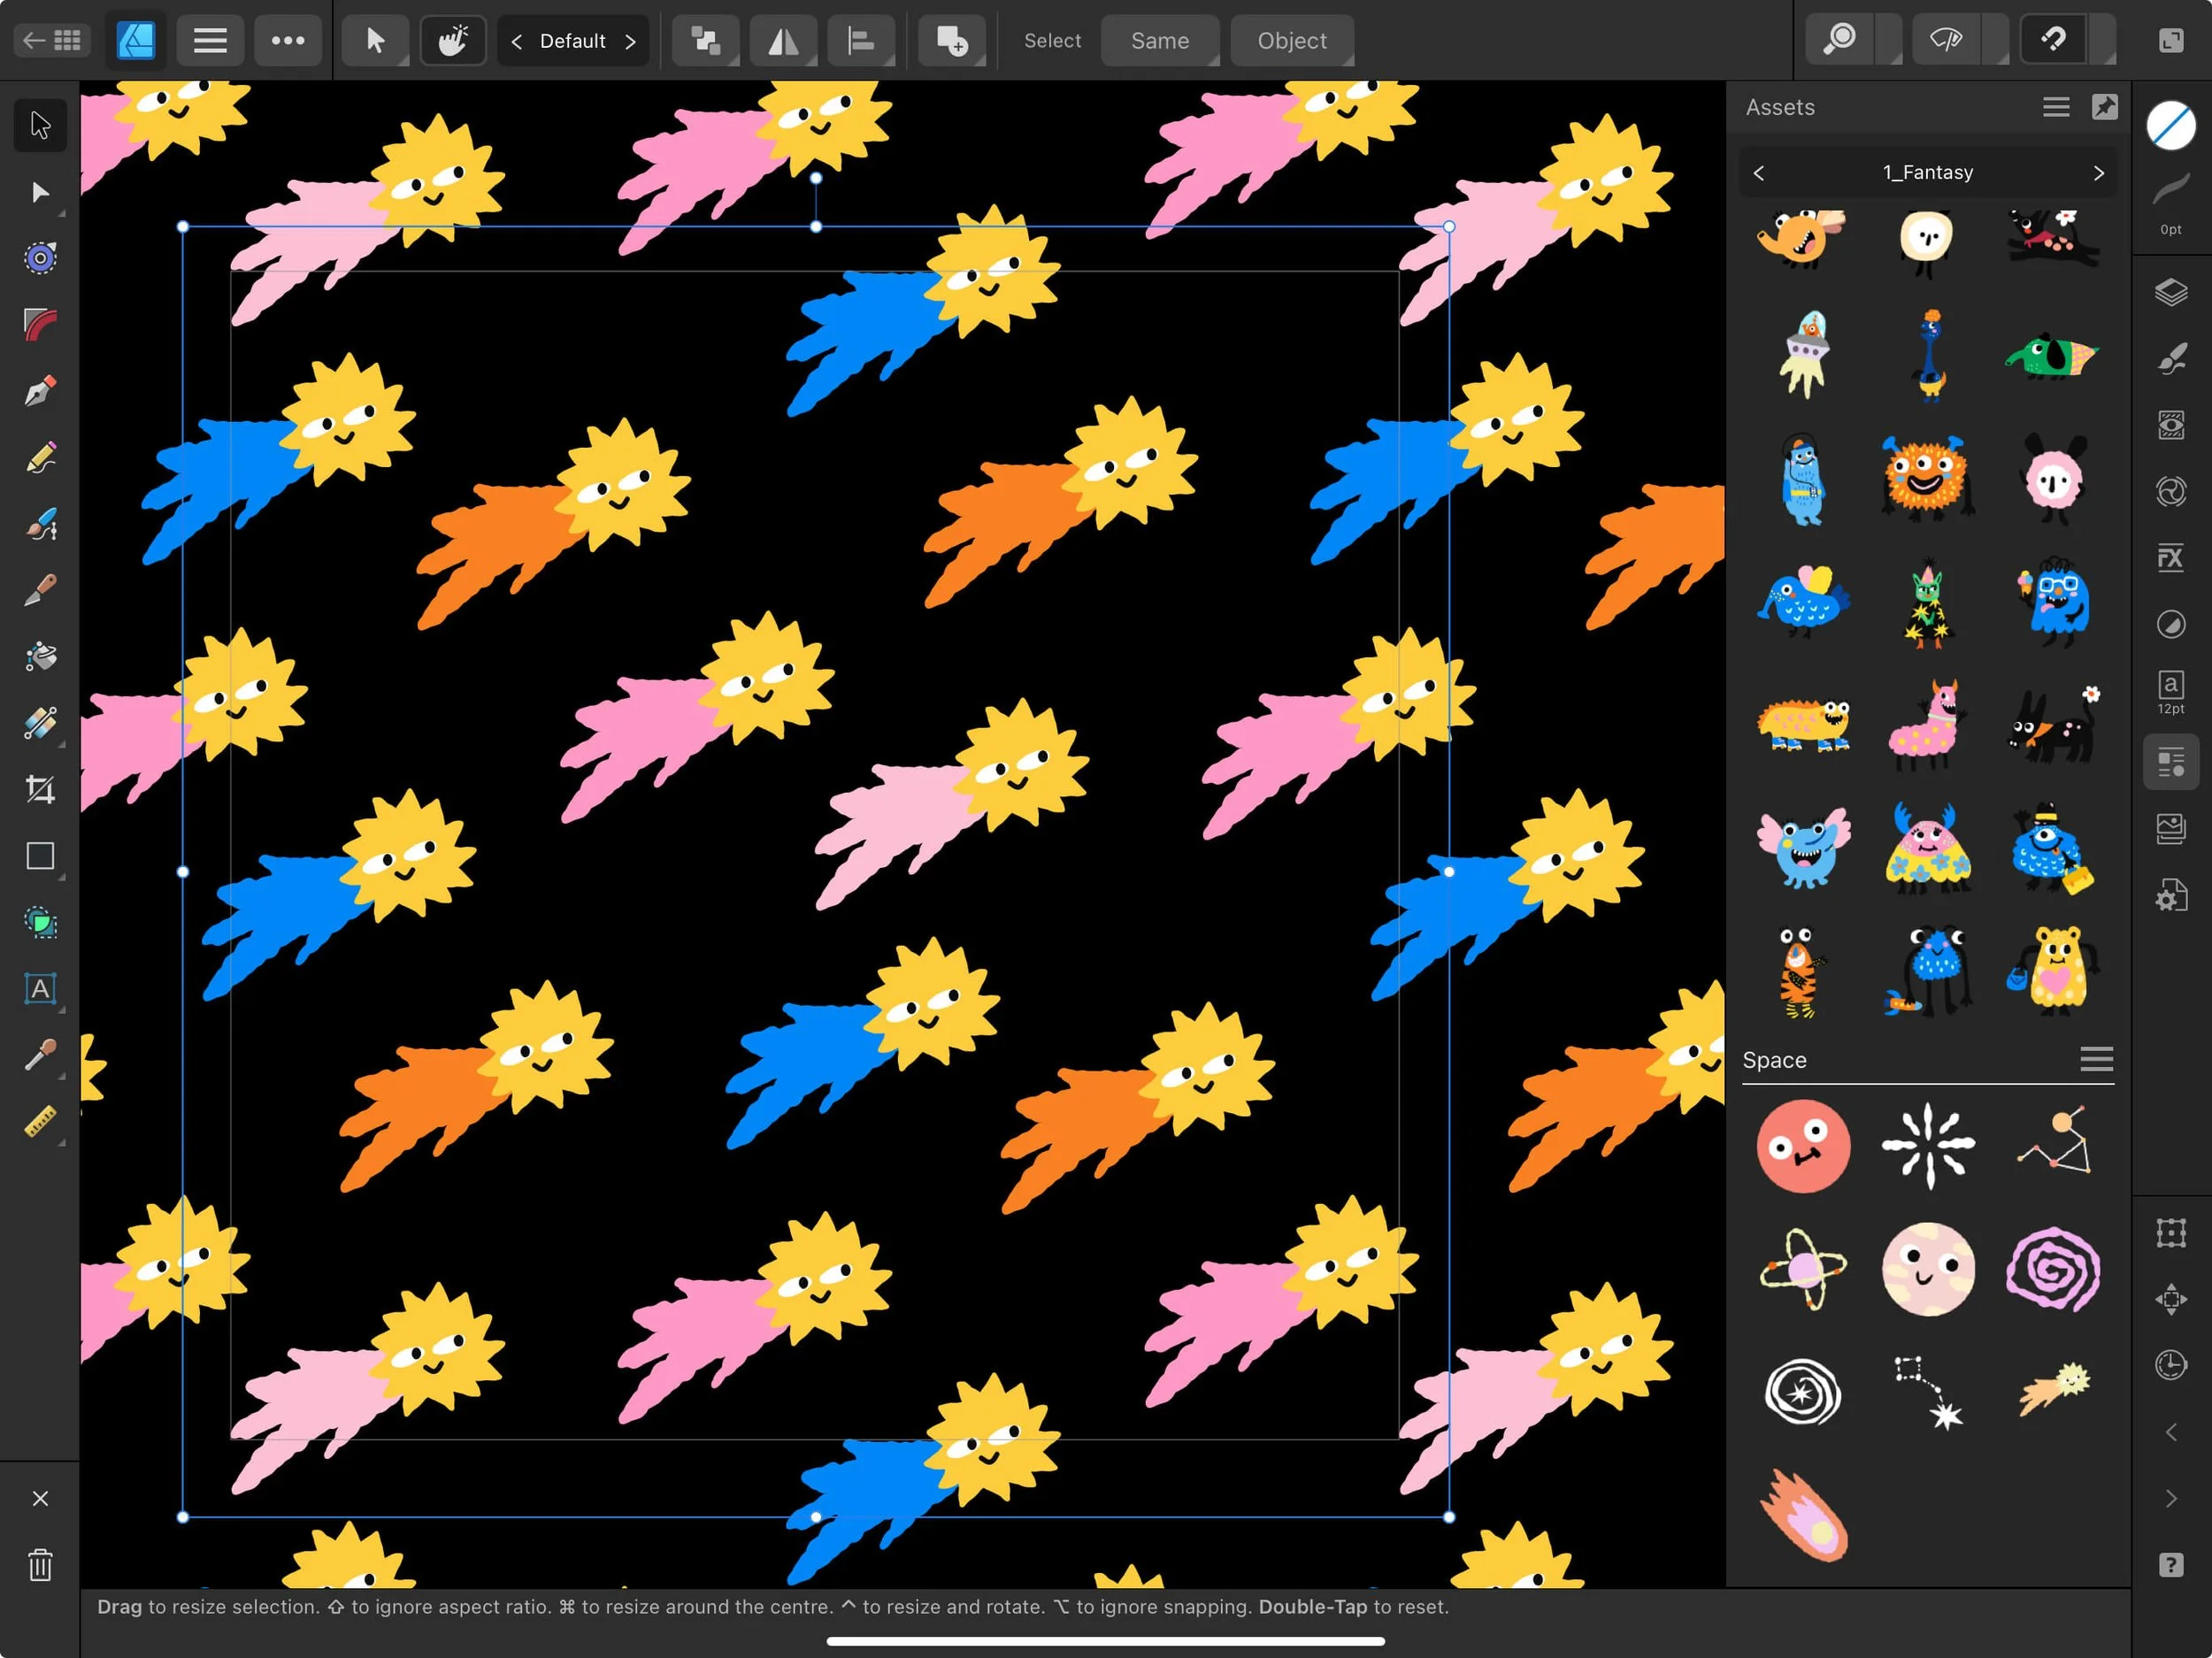
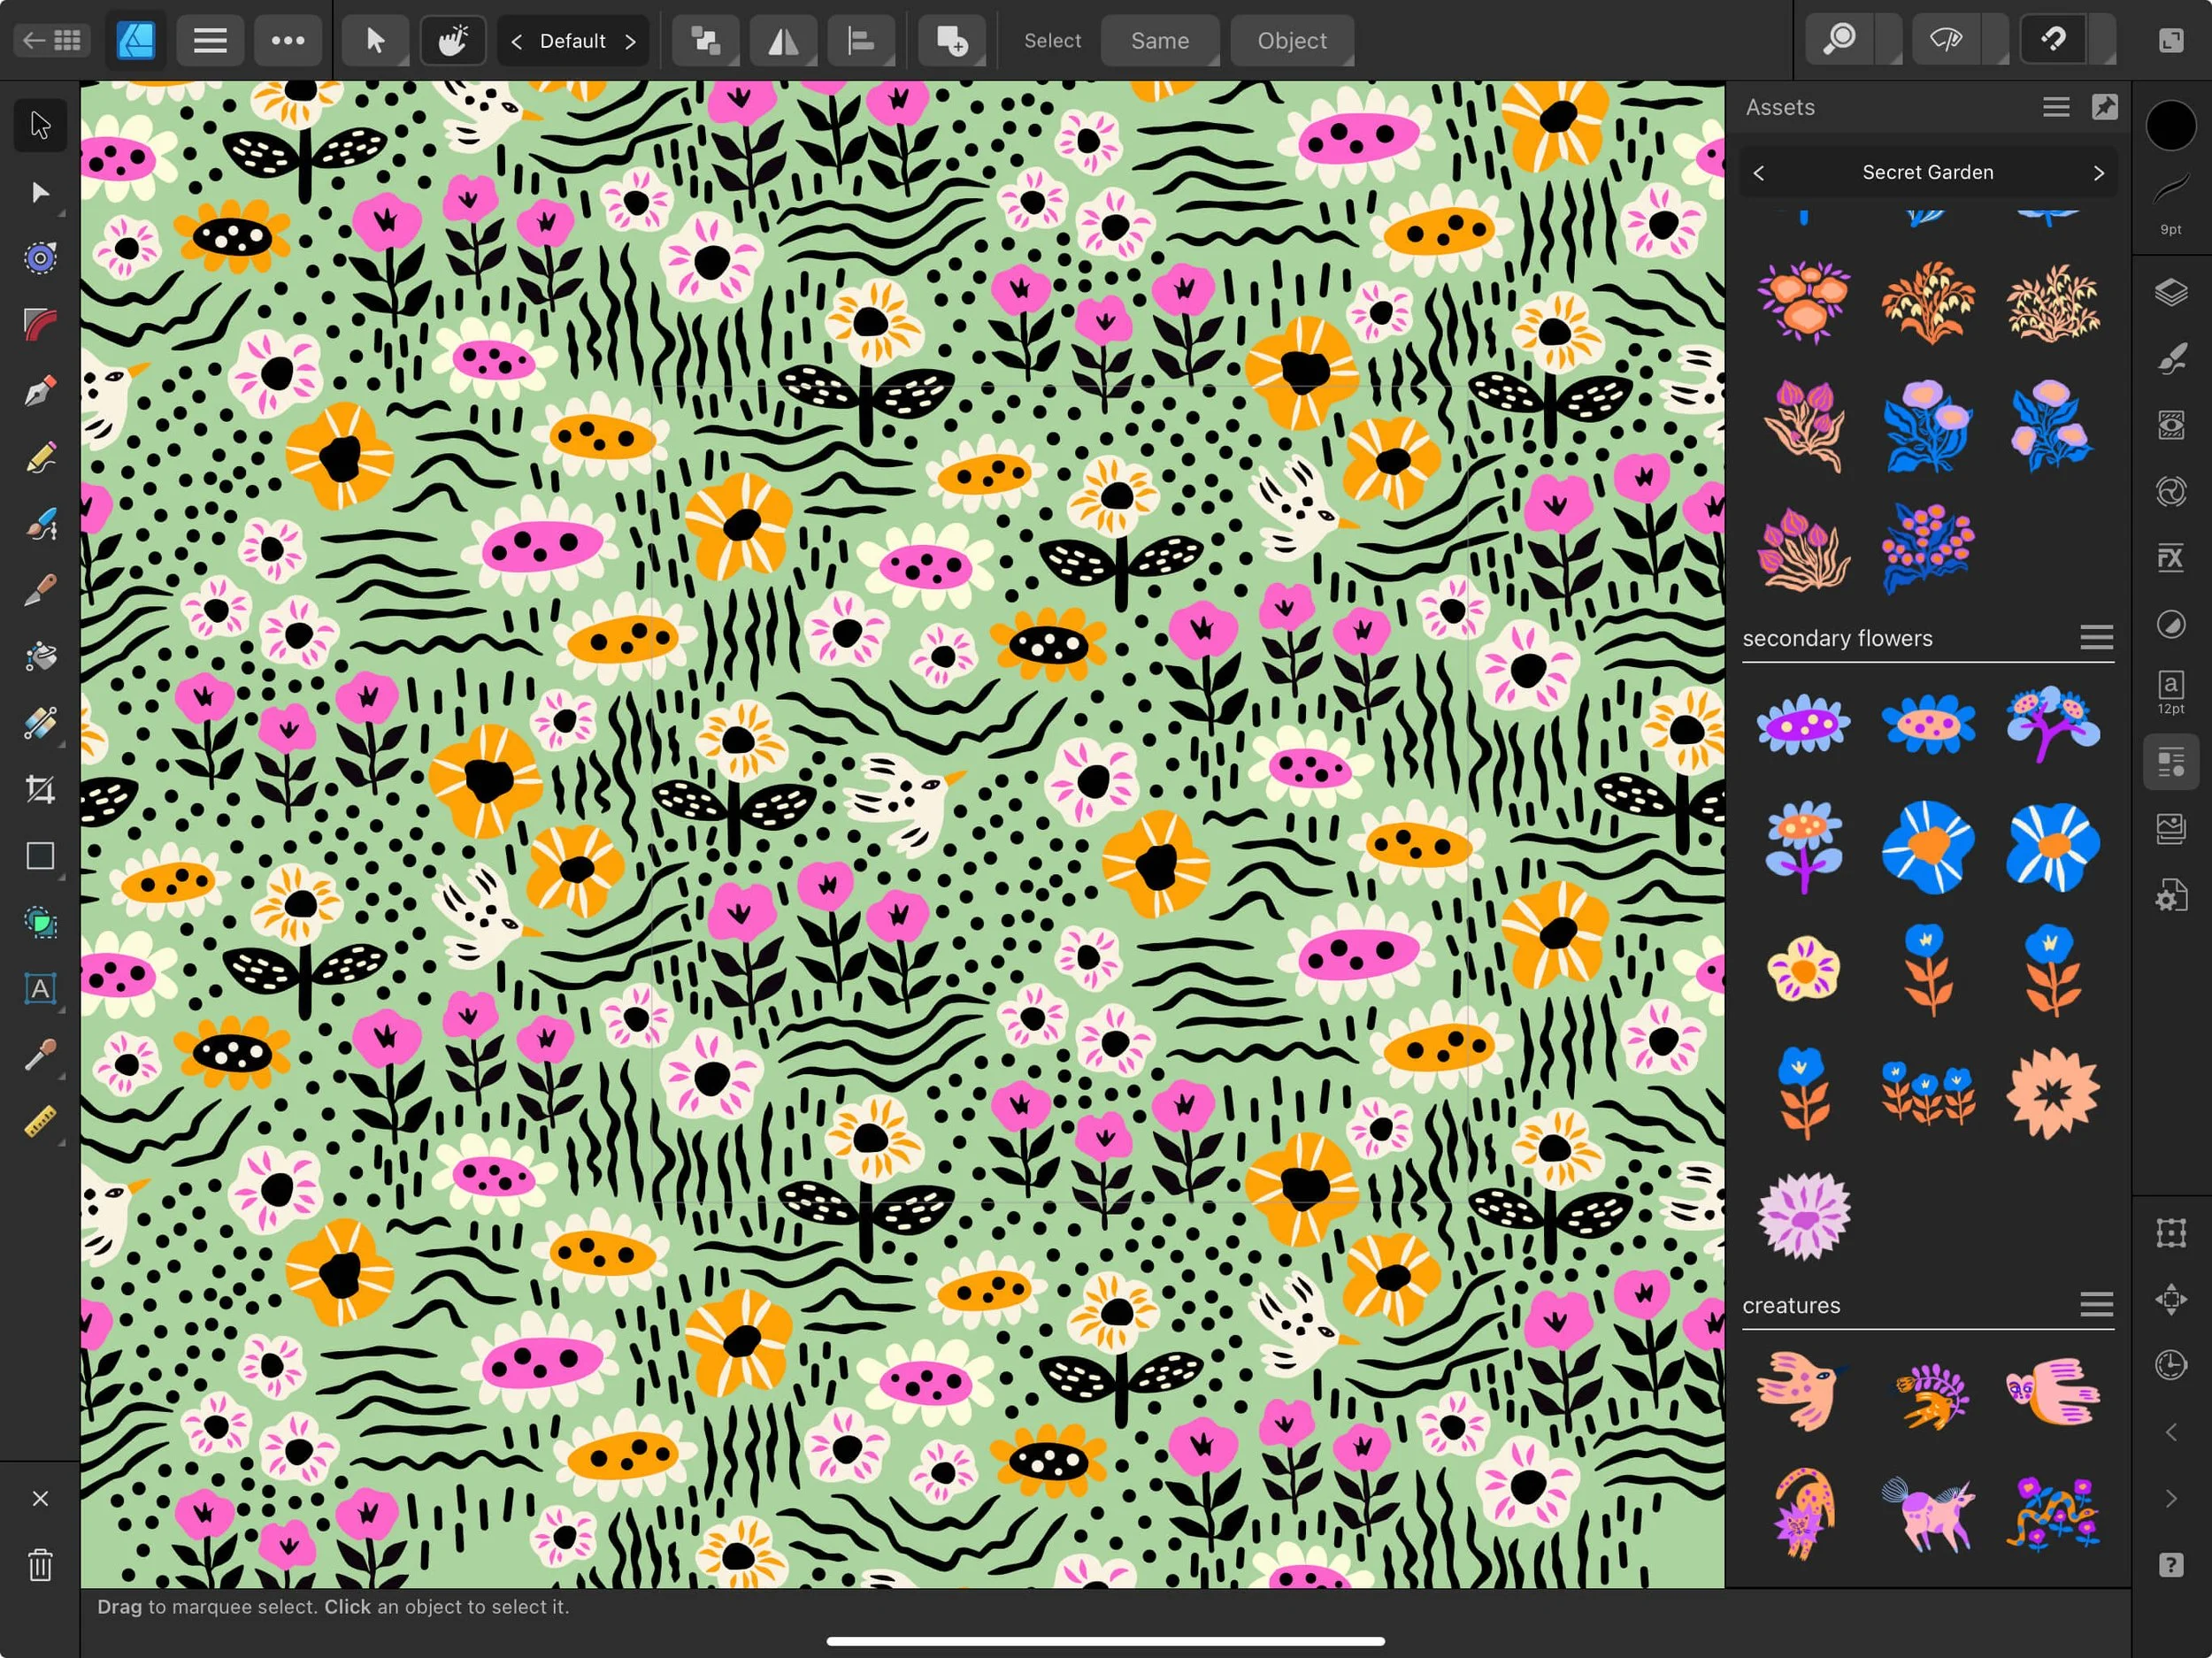
When you want to create a Symbol, you need to select the layer that you want to be affected, and then you simply go to the Symbol Studio and select Add Symbol from Selection. For surface pattern design, typically you make your square background layer your Symbol. Next, when working on your repeat pattern, you place all the pattern elements inside of this background layer.
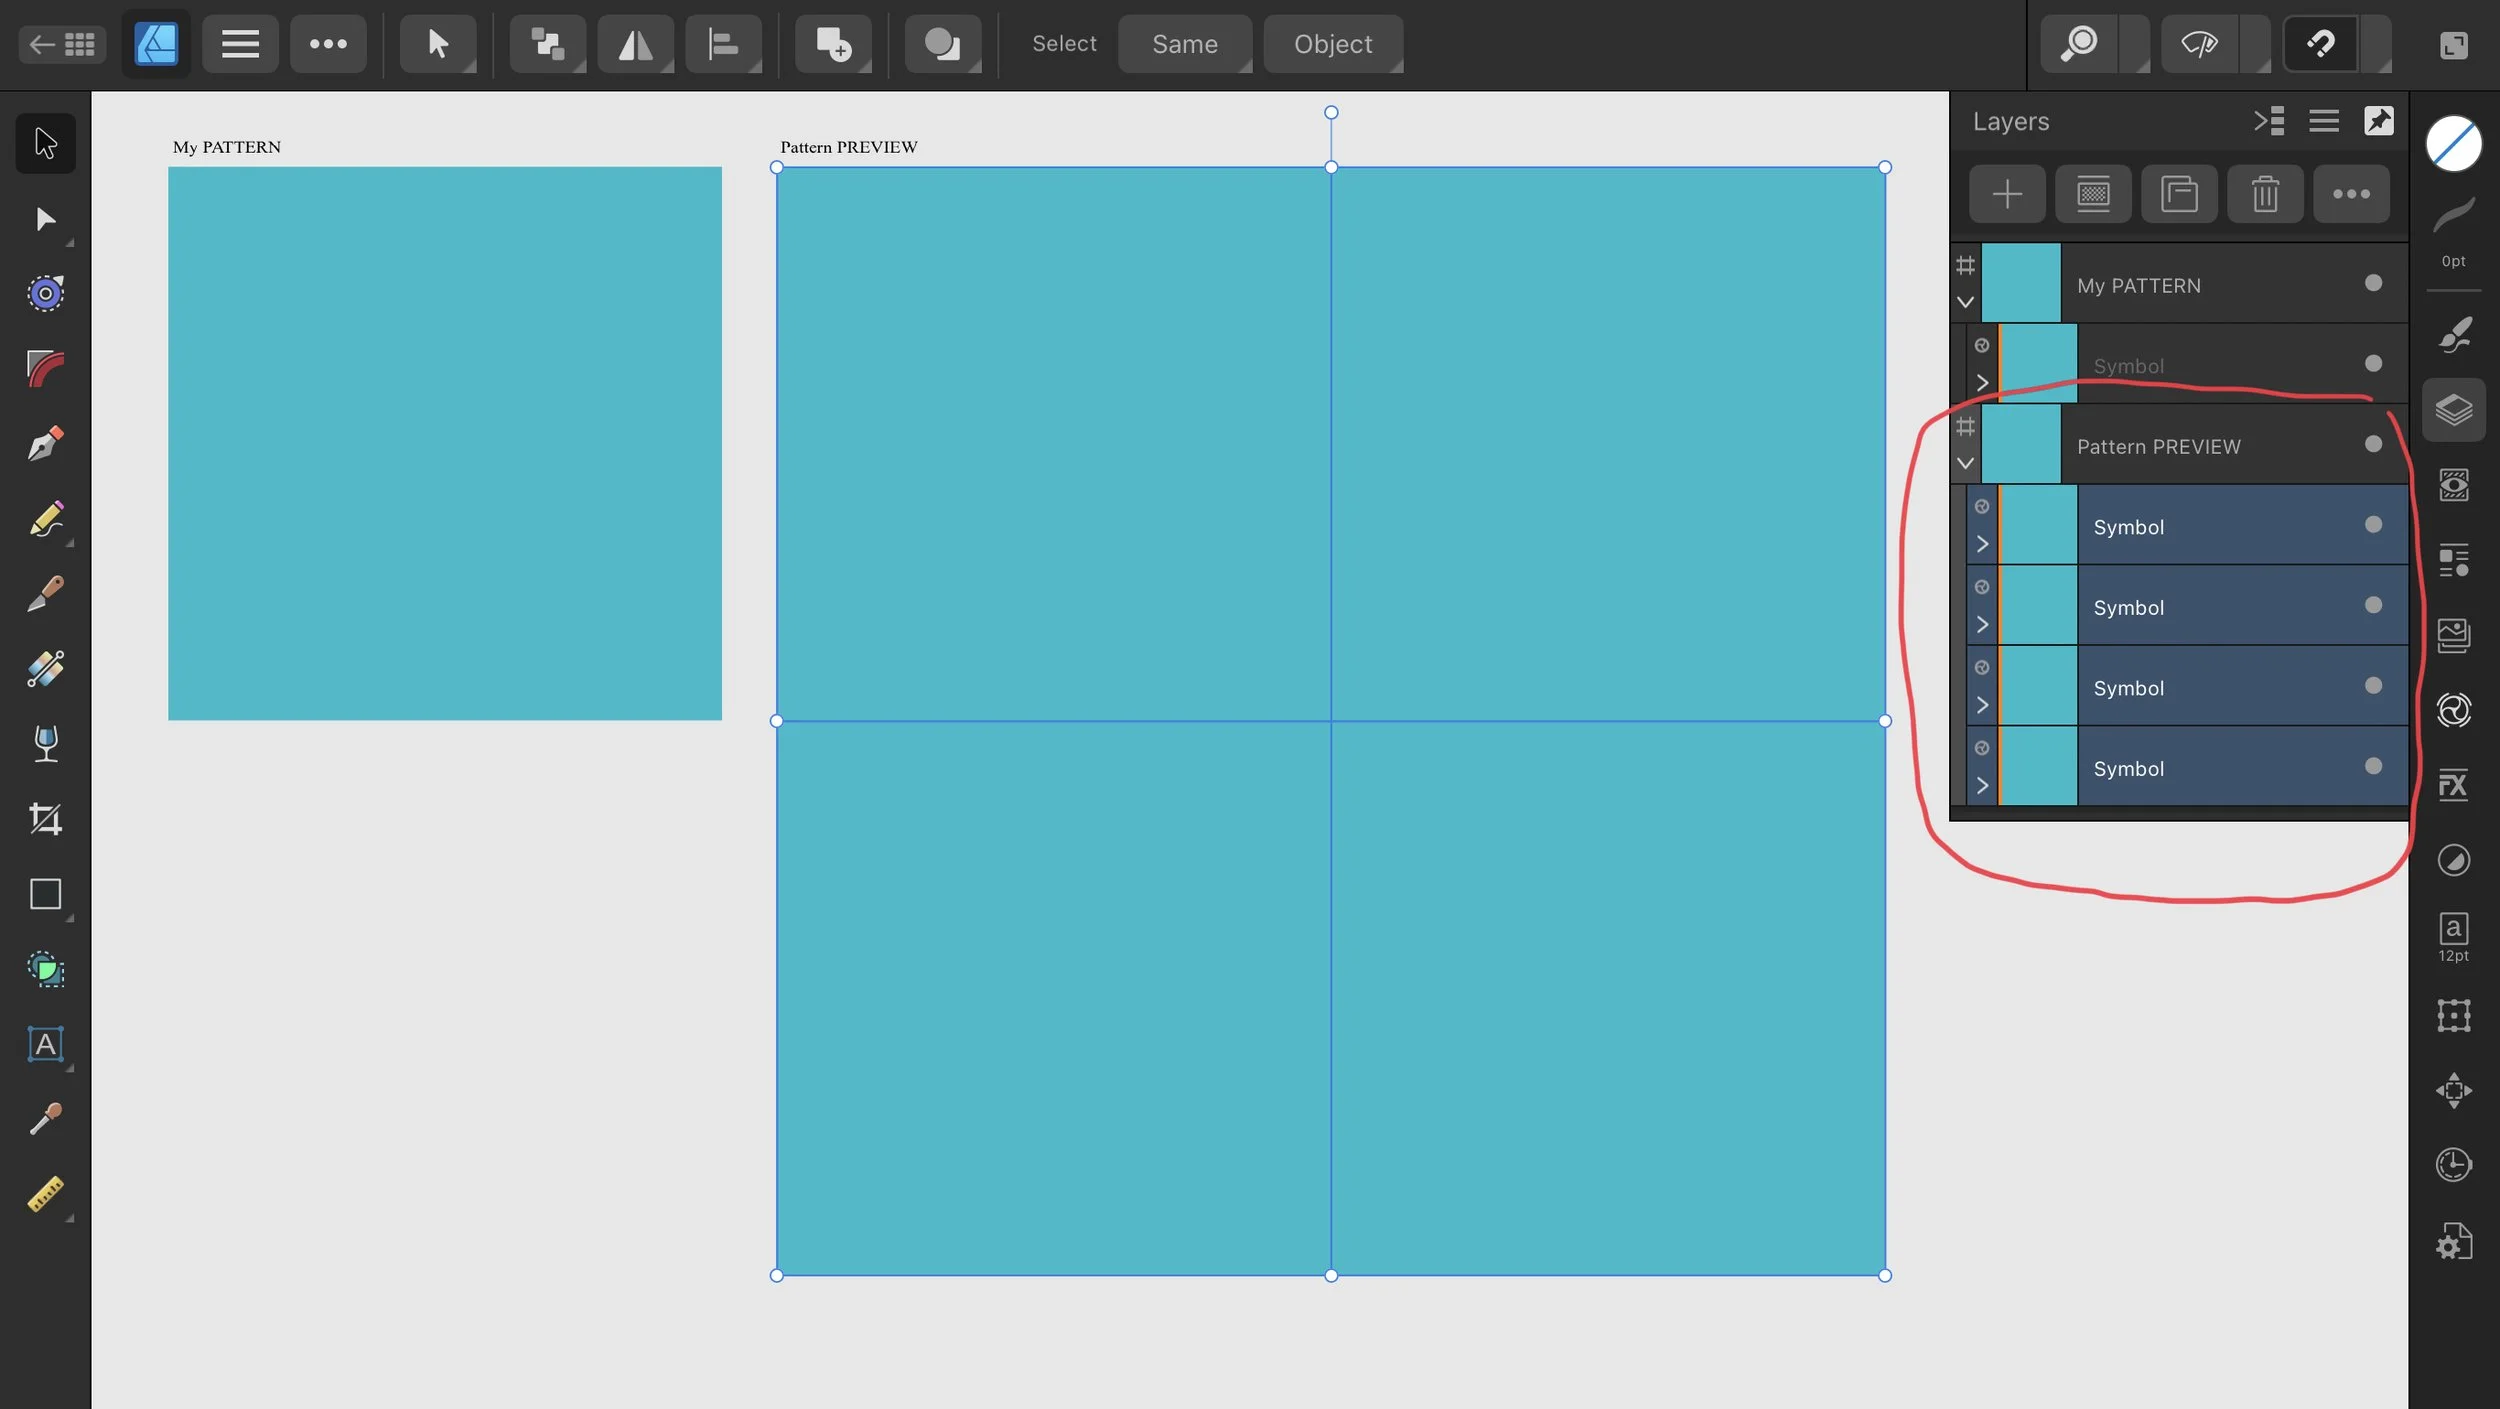
4) Copy the Symbol to The Preview Artboard
Once your base Symbol is created, you need to copy it 4 times onto your bigger Preview Artboard. You can do it manually - making sure that your Snapping is on, or you can do it semi-automatically - by using the Transform Studio. I personally prefer to copy and place them manually, and to double-check them in the Transform Studio. So, for my pattern dimensions of 4000 x 4000 px, I have the following positioning of the pattern tile on my 8000 px Preview tile:
The positioning of my Live Preview tiles:
tile 1: X = 0, Y = 0
tile 2: X = 0, Y = 4000
tile 3: X = 4000, Y = 4000
tile 4: X = 4000, Y = 0
5) Test Your Live Pattern Preview
Start drawing on your main pattern tile, or place an asset from your Assets Panel. Remember that someone your element is not positioned properly in your Symbol at first. You need to drag it manually to the Symbol area, which you will recognize when you see a bright orange line beside it (left side).

Final Thoughts
I absolutely love my Live Pattern Preview tool and I can’t imagine working without it! I have a habit of creating a Master Document, and then any time I want to start working on a new pattern, I swipe left on my iPad screen, create a copy of my pattern document, and I’m ready to go and start designing! You can play around and create such templates for any dimension or any pattern type that you might need: smaller canvas, bigger canvas, half-drop repeats, brick repeats, you name it.
Don’t forget to leave a comment under the YouTube tutorial whether you like using this Live Preview and also what types of templates you’ve created!
Check out my Affinity Designer Surface Design Courses
NEW Course Alert!
In this vector patterns course, you will learn everything you need to know to create beautiful and seamless repeat patterns using Affinity Designer.
I will guide you through the process of designing a FULL-DROP repeat pattern from start to finish in Affinity Designer, covering everything from creating the initial design to saving the pattern for use in a variety of products.
Pin it for later!